Update Your Logo
StarChapter systems on a Current design must update both the Design Editor and Mobile Design Editor tools. StarChapter systems using Classic designs only update the Design Editor and that image will be inherited on mobile displays automatically.
 |
Tip: If you aren't sure which design you're currently using, this article reviews where to locate that information within your Admin Area. |
Update Design Editor (both Current and Classic designs)
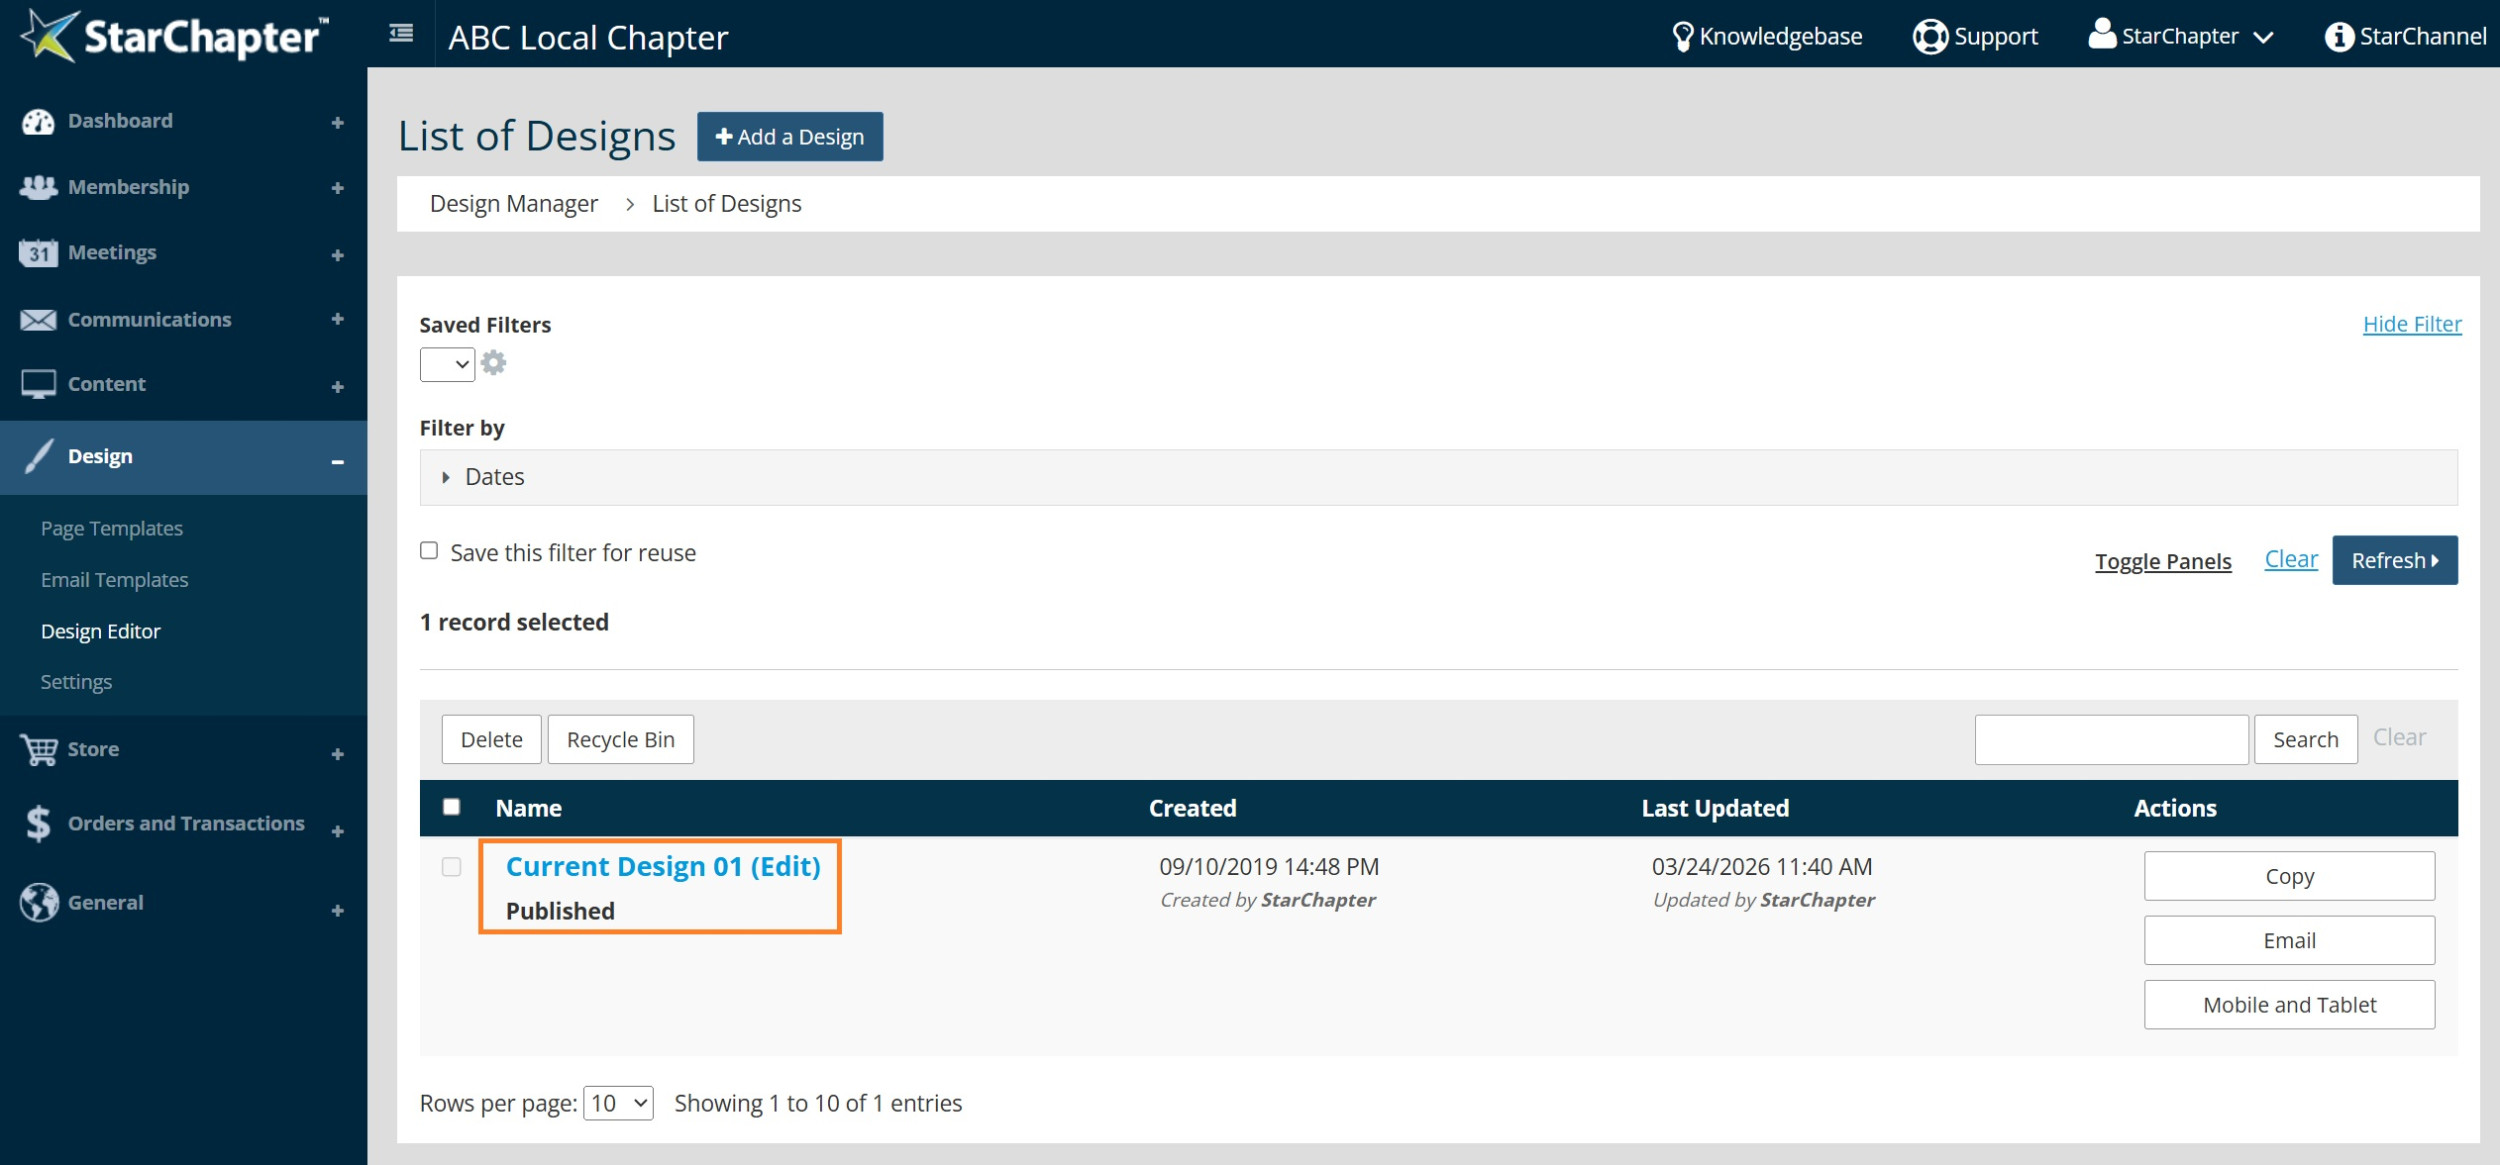
- Go to Design > Design Editor.
- Click to open the Published Layout.
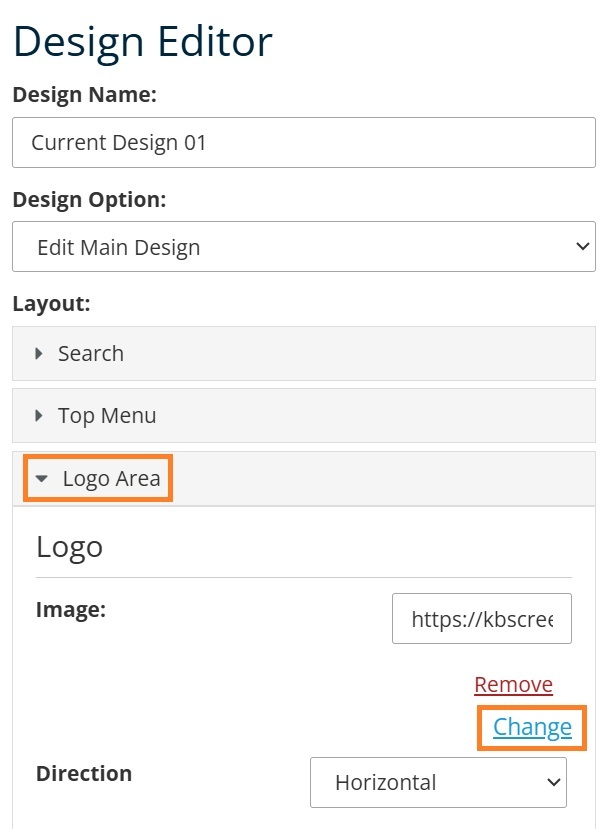
- Locate and click to open Header > Logo Area in the left navigation screen.
- Click Change.
- Upload the new logo and click Insert.
Tip: Always upload a larger file size than needed and adjust the image to a smaller size after upload using this width control. The set width should not be larger than the uploaded image width, only smaller, or else you risk the quality of your logo and may see the image as blurry.
- Click Save.
- Click Return to List.
Update Mobile Design Editor (Current designs only)
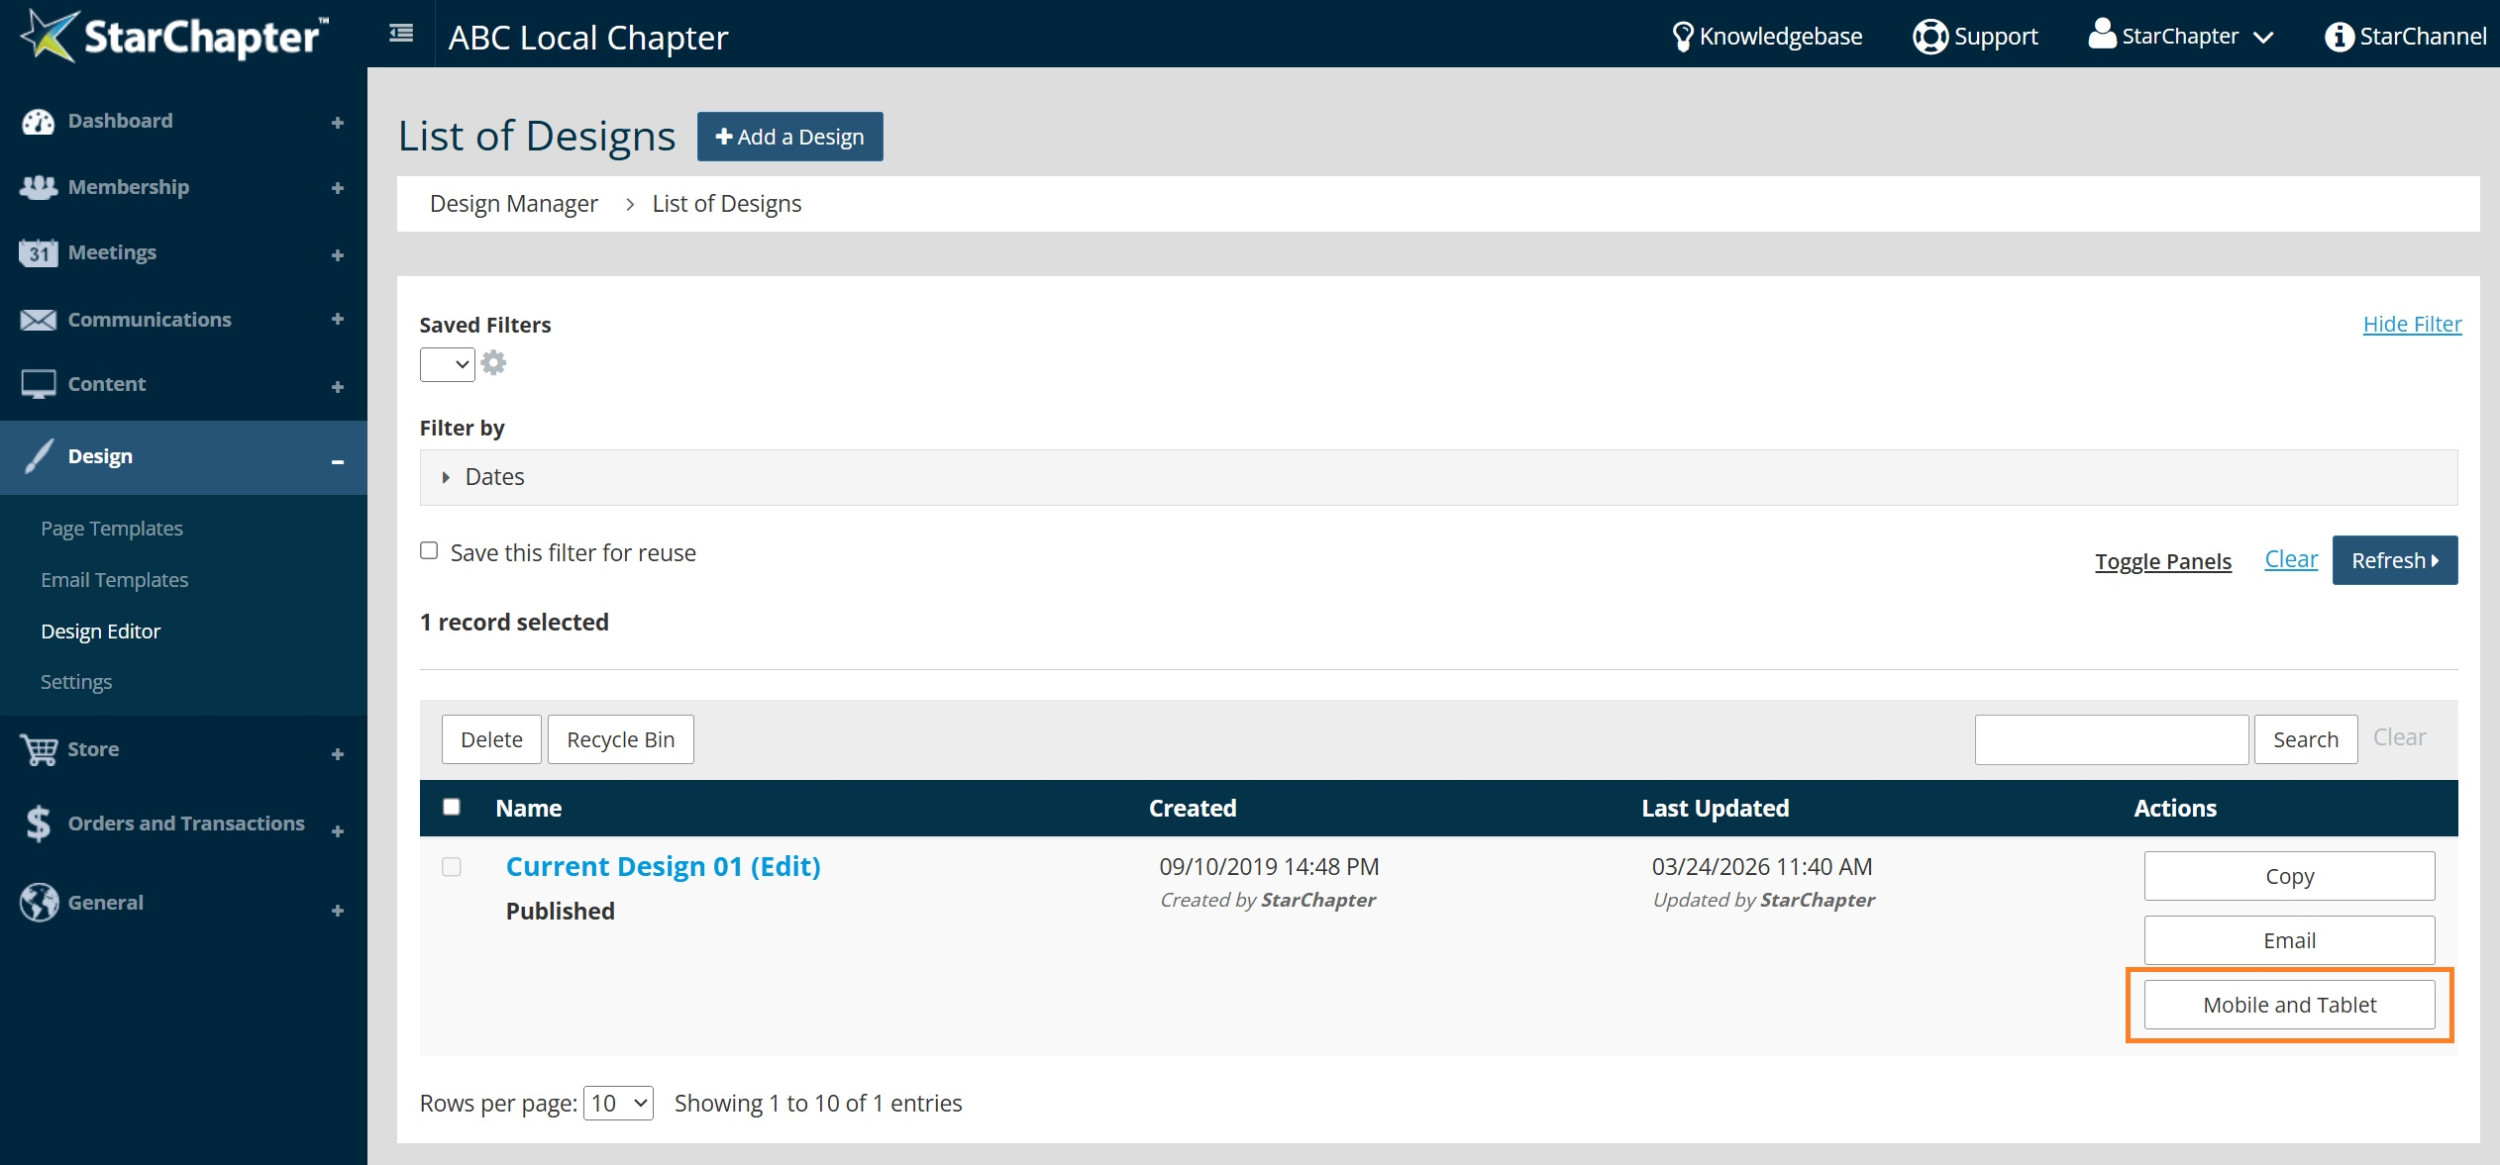
- Go to Design > Design Editor.
- Click the Mobile and Tablet action button beside the Published design.
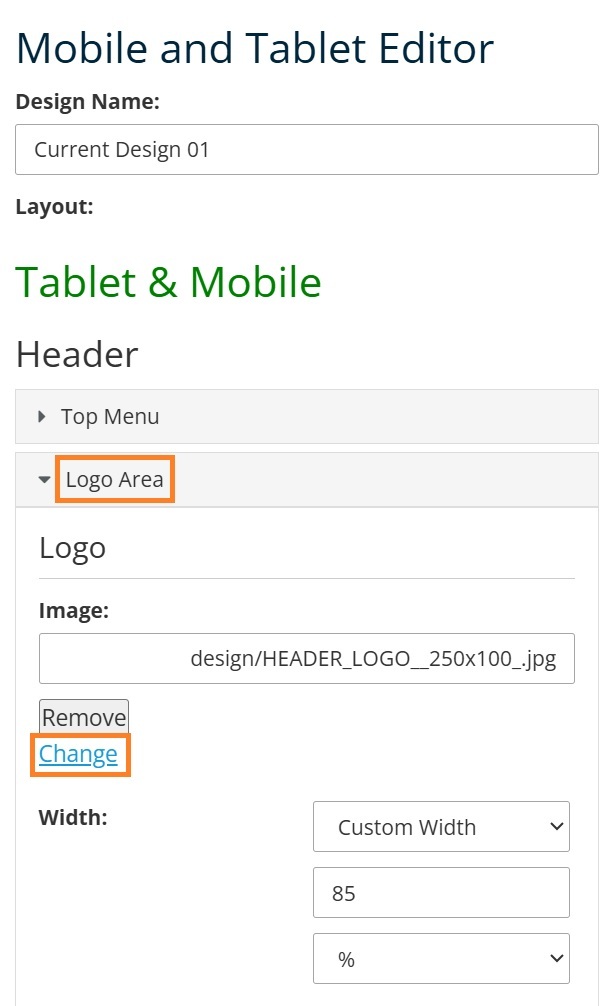
- Locate the Tablet & Mobile section and click to open Header > Logo Area > Logo section in the left navigation screen.
- Click Change.
- Upload the new logo and click Insert.
- If you need to adjust the size of your logo after upload, there is a Width control located in the Header > Logo Area > Logo section. This will resize your logo for both Tablet and Mobile.
Auto = exact size of uploaded image. Custom Width = specific px, em, or % of the uploaded image.
- If you need further size adjustments for your logo in Mobile ONLY, locate the Mobile Only section further down the left navigation and click to open Header > Logo Area > Logo section and adjust the width.
Auto = exact size of uploaded image. Custom Width = specific px, em, or % of the uploaded image.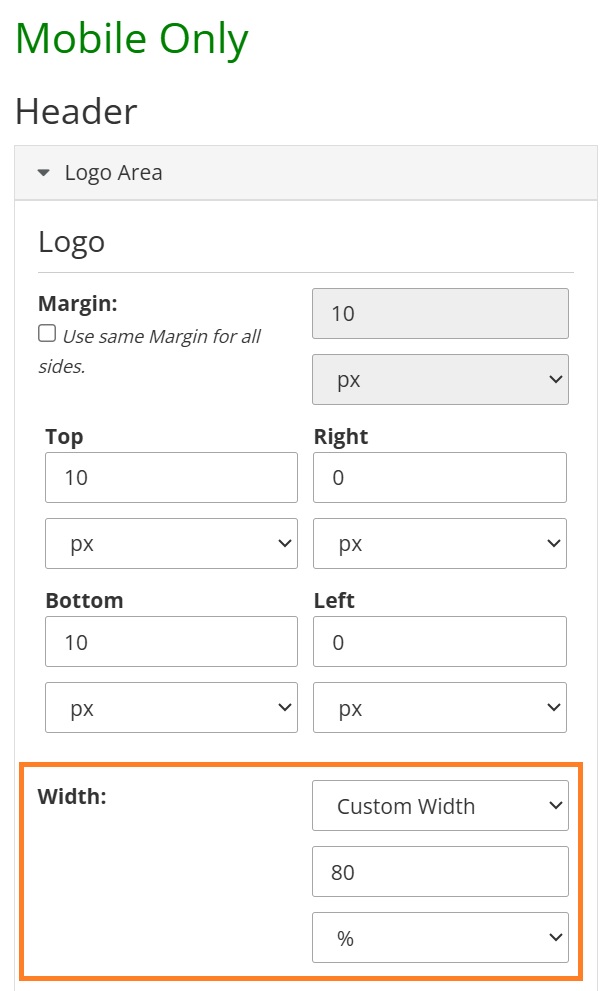
- Click Save.
- Click Return to List.