
Create an Election Ballot
- Assemble information on the election procedures and candidates. Typically, it's best to post this on a new page. A video walkthrough on creating new pages is available here. Copy the URL of this page into a document for later use.
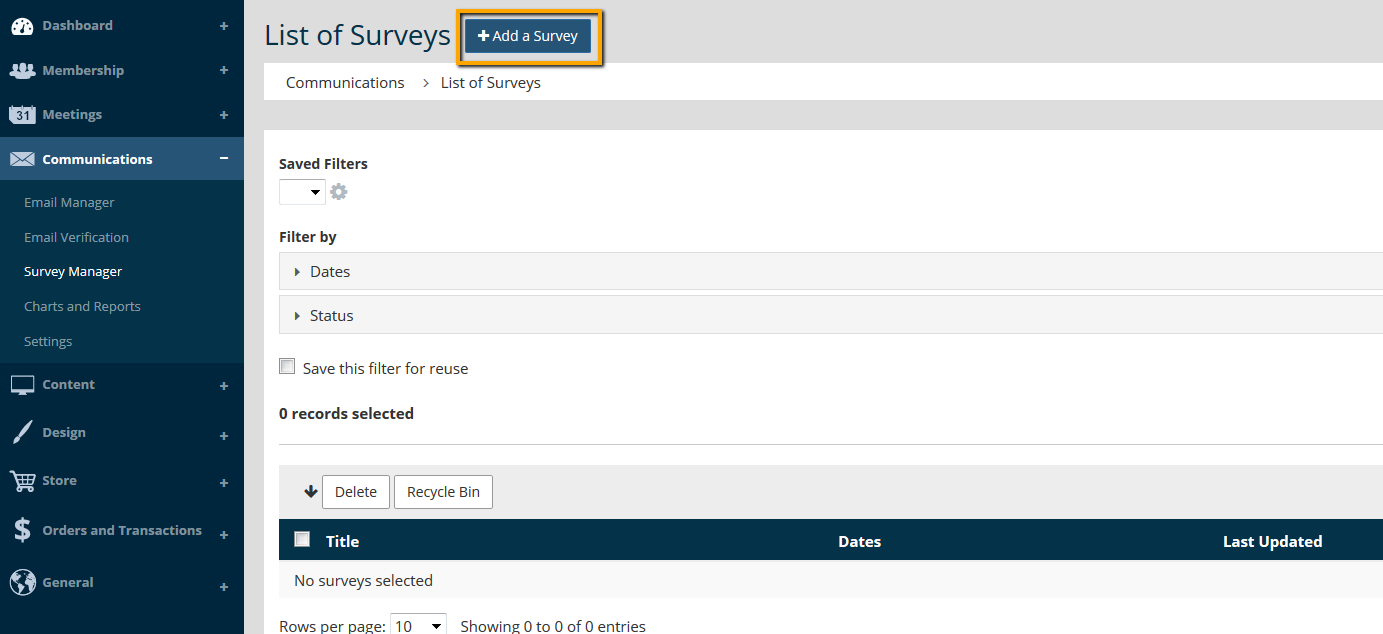
- Go to Communications > Survey Manager.
- Click on the Add a Survey button.
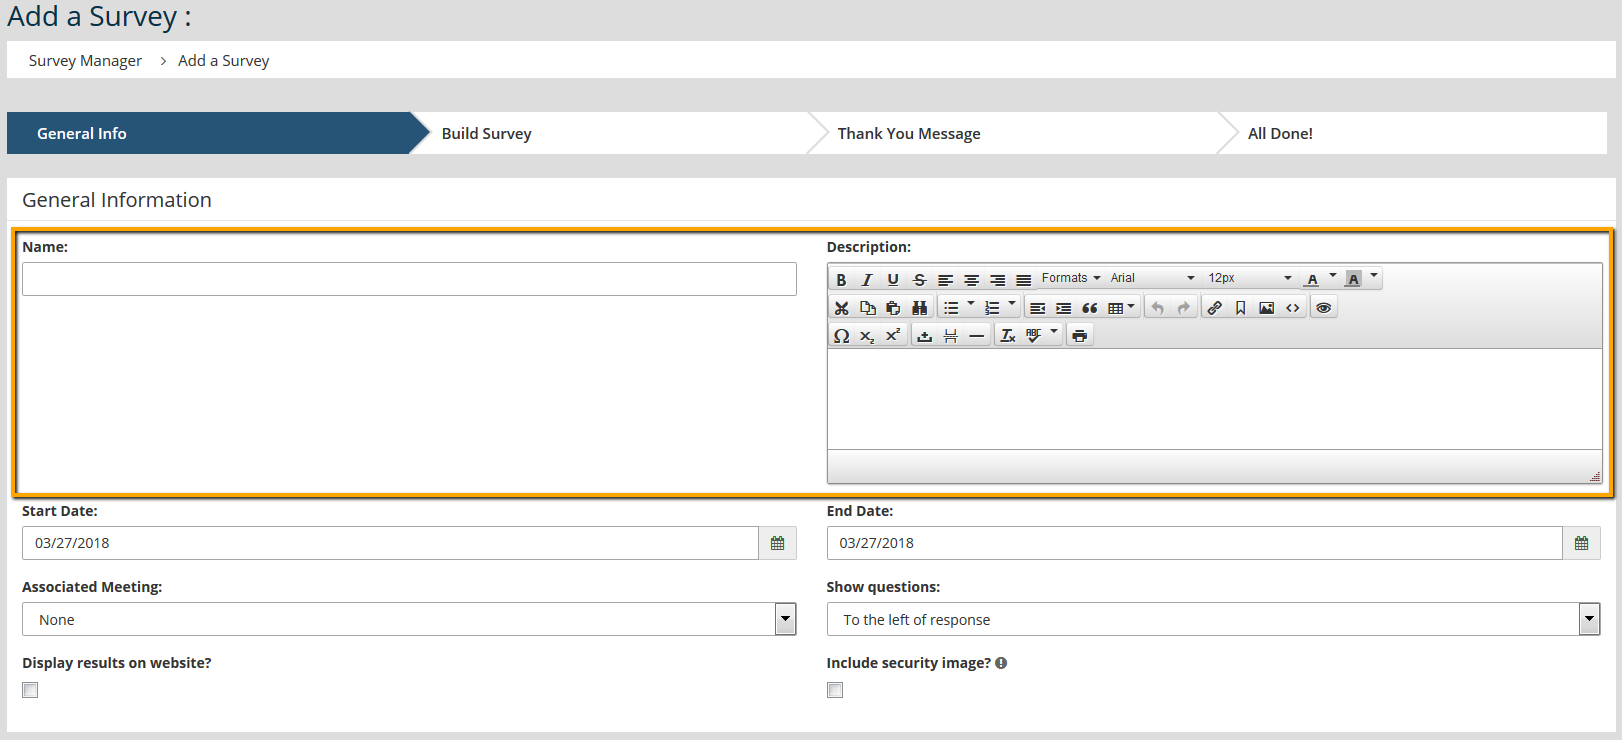
- Enter a name and description for the survey. The name should include the year. The description box is a good place to enter the election policies, such as the ending date, and the previously copied link to the page with information on the candidates. The option "Display results on website" should not be checked.
- Within the Restrictions area, click on Restrict Access and choose to add All Members.

- Click Next.
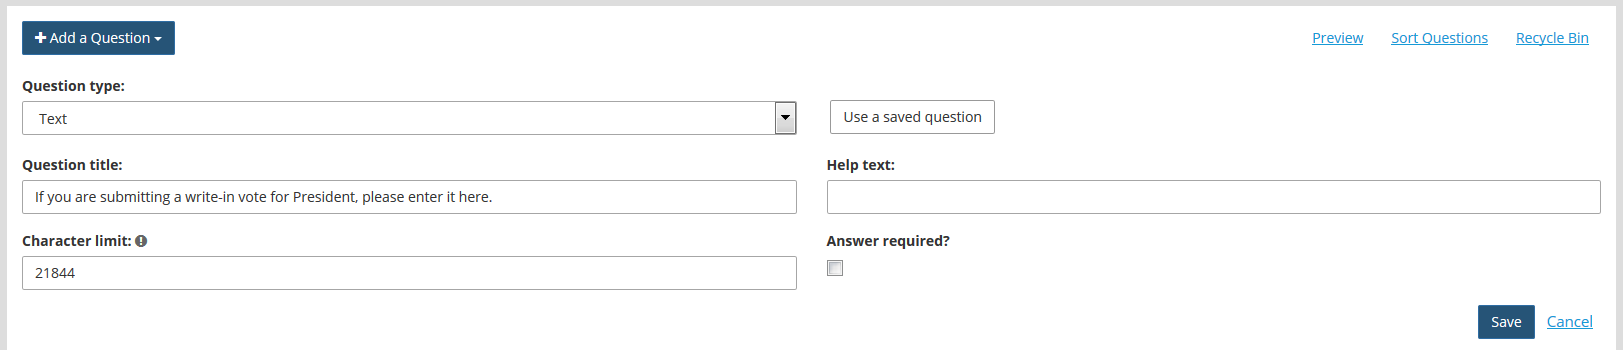
- Click Add a Question. Choose Drop Down List for the question type. Enter the position as the question, then enter the candidate names. If write-ins are allowed, enter "Write-in" as a candidate name. Click Save.

- If write-ins are allowed, click Add a Question and choose Text for the question type. Each position should have its own question. This makes the results easier to review in spreadsheet format. Enter the information and click Save.
- Repeat the steps above for all positions. When finished, click Next.
- Customize the thank-you message, if desired. Click Next.
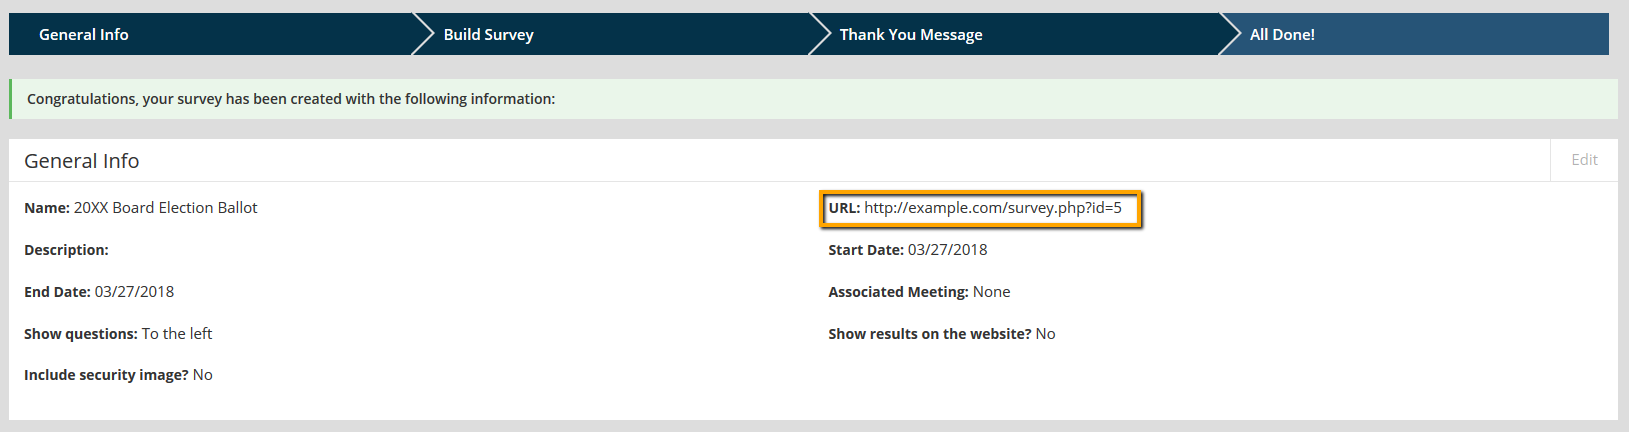
- On the All Done screen, copy the survey URL. Visit this URL in a new browser tab and review the survey. If any changes are needed, make them in Survey Manager before continuing.
- Go to Communications > Email Manager to email the survey to the members. A video walkthrough on sending an email appears on the right side of this page. You will be prompted to select the mailing type (Survey Email) and the specific survey when sending the message.
- After the end of the voting period, return to Communications > Survey Manager. Click on the View Results button to the right of the survey to review the election outcomes within the admin area, or download them into a spreadsheet.


