
Initial Email Verification Process
In many cases, StarChapter organically verifies email addresses and an administrator does not need to do anything. This article walks through the process of manually sending a verification email to a member or non-member. If you are new to email verification, please read the overview to become familiar with the concepts and processes.
|
Tip: Email Verification is only enabled on an as-needed basis. StarChapter's Support Team will reach out if they identify your organization as a good candidate. |
How Do Admins Know If Someone Needs To Verify?
It is a good idea to send out verification messages every few weeks to new members and non-members who need to verify. Email Verification selects those members and non-members who need to verify and to whom administrators have sent fewer than a certain number of verification messages.
There are two ways that notices about unverified contacts appear.
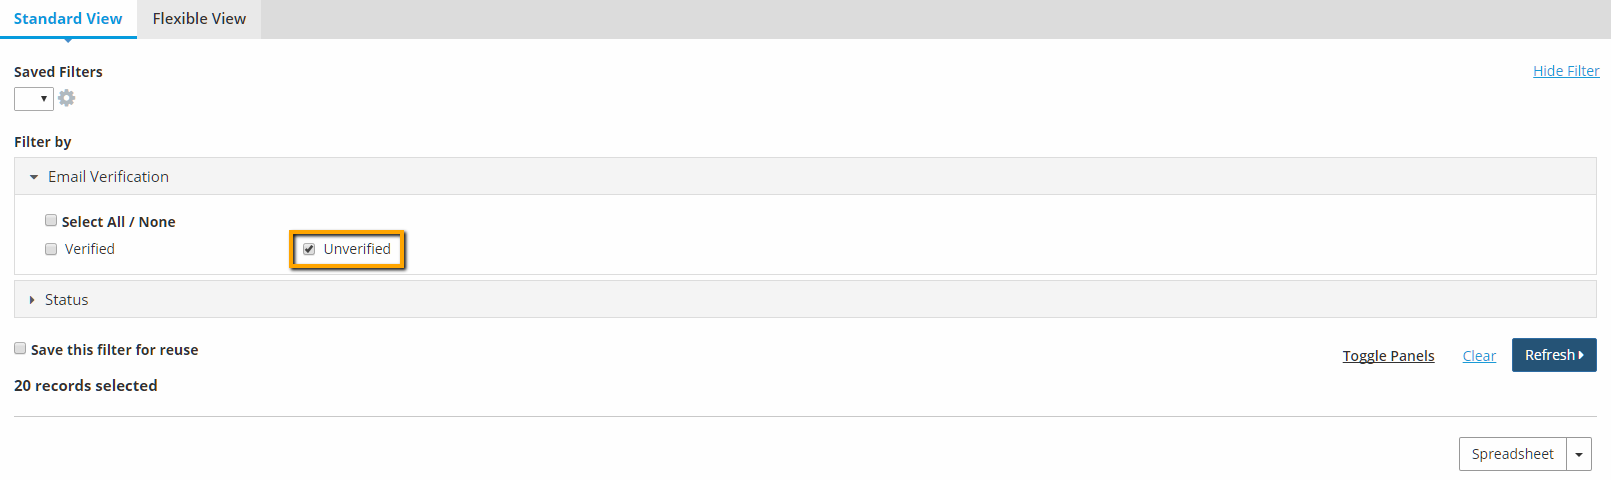
- In Member Manager and Non-Member Manager, the Email Verification filter appears. Use this to filter on verification status.
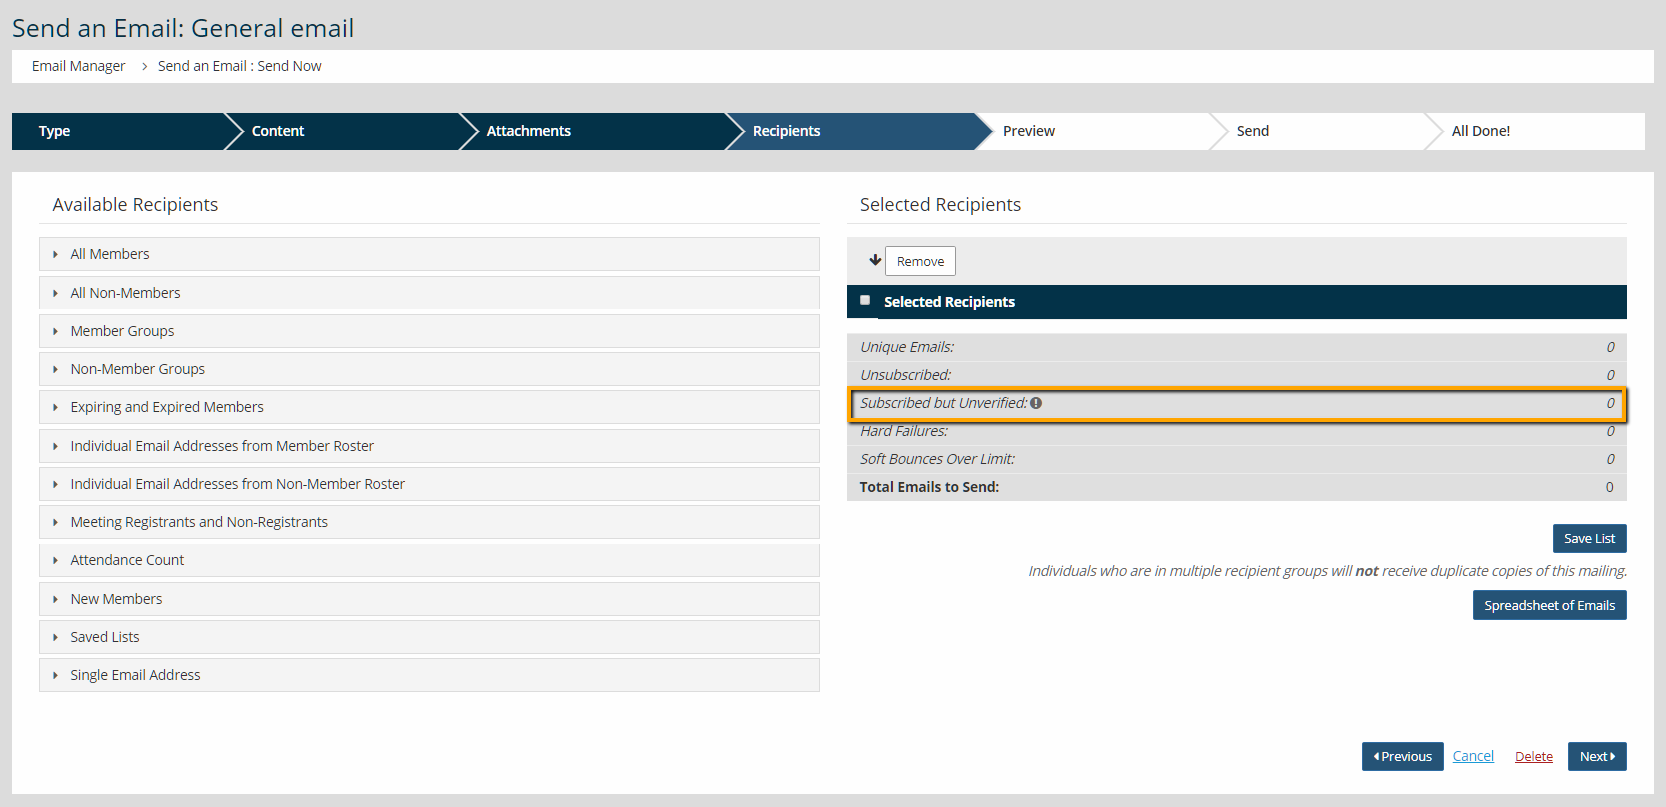
- Go to Communications > Email Manager. The Recipients screen displays the number of contacts who have subscribed but not yet verified their email addresses. In the example below, zero (0) contacts are unverified.
How Do Administrators Ask Individual Contacts To Verify Their Emails?
For individual contacts, go to Member Manager or Non-Member Manager. Mouse over the Verify Email button and choose a Welcome Email (available for members only) or a verification email (available for both members and non-members). Since members can verify their email addresses by setting their passwords, either template is an option.

If an individual member still needs to verify an email address, then this means they have not setup a password to login to the Member Area. If the member just joined, then this is normal. If the member joined some time ago, this may indicate a problem with the email address. To address this, check the number of verifications sent. This is visible underneath the "Verify Email" action button when looking at the member or non-member profile.

Then, reach out to the member directly via phone or in another email client to check the email address. It is possible that the email address has a typo in it, and a quick phone call to the member can determine this. It is also possible that the member’s email address is rejecting messages. The member can fix this by adding certain addresses to their allow list, although they may need the assistance of their email provider.
After making necessary adjustments, send another verification message.
How Do Administrators Ask Multiple Contacts To Verify Their Emails?
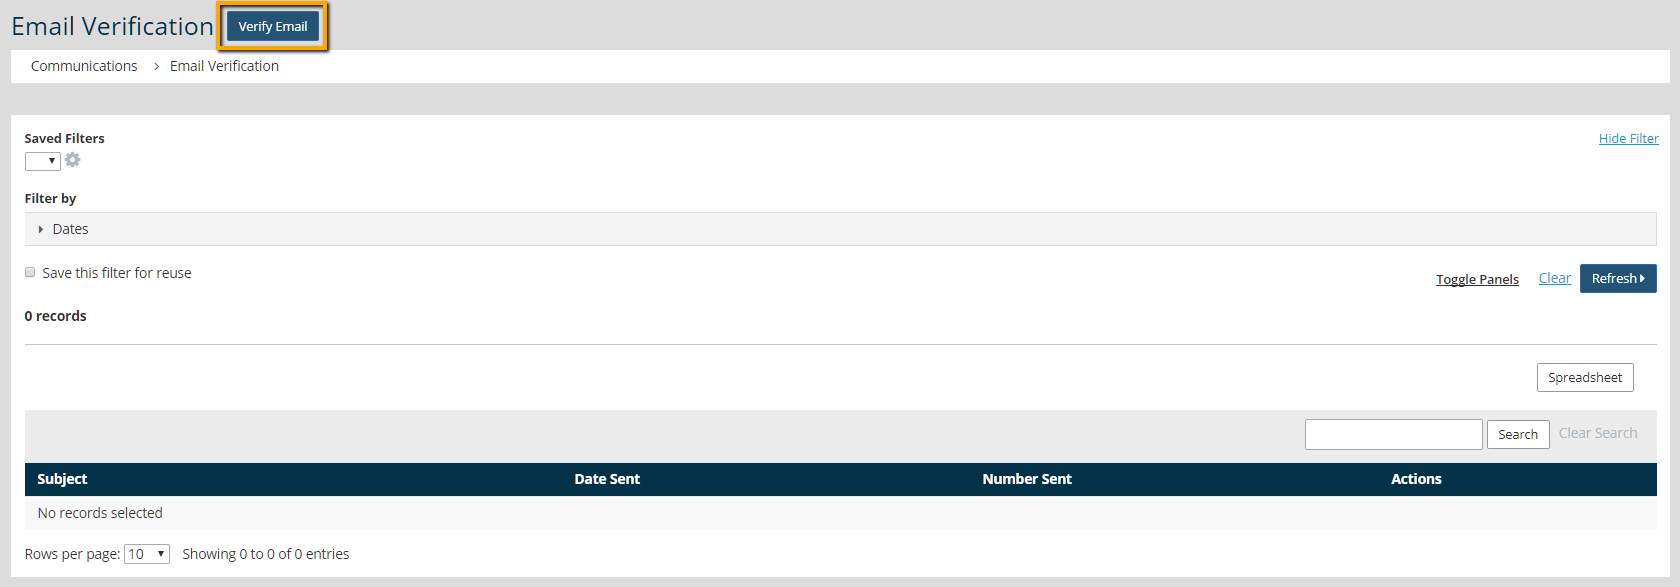
- Go to Communications > Email Verification. Click Verify Email.
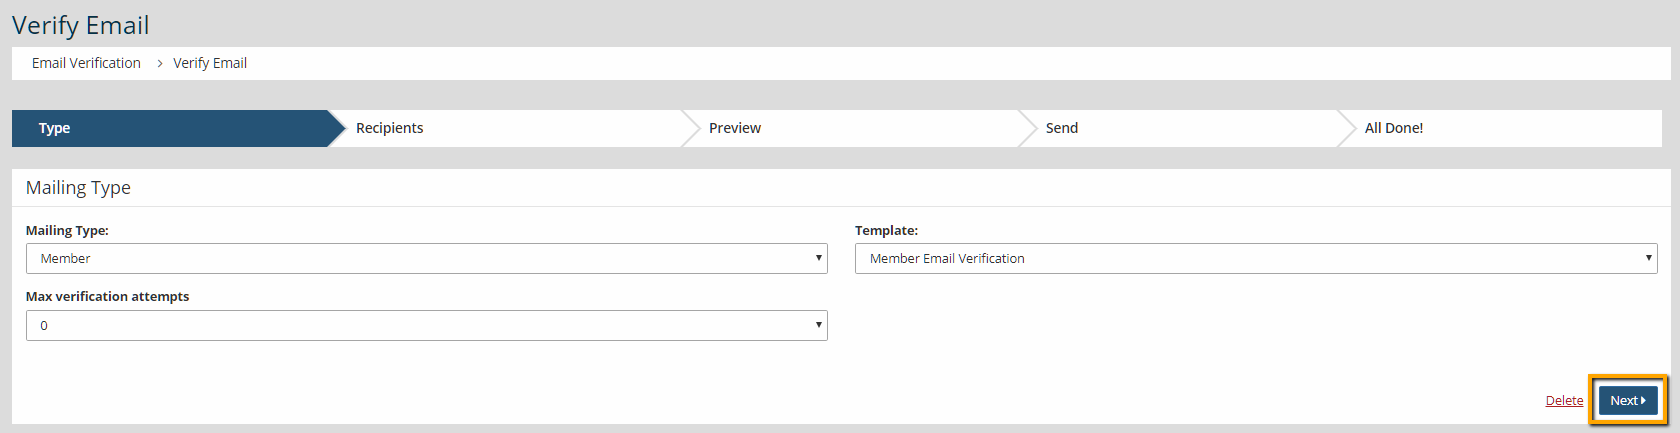
- Select the Mailing Type, Template and Max Verification Attempts. Usually the maximum number of verification attempts should be zero (0). This targets only those individuals to whom admin users haven’t yet sent verification messages. After selecting the options, click Next.

Tip: If administrators send two or three verification messages and the member or non-member does not verify their address, then it usually indicates a problem. Check Communications > Charts and Reports > Reports > Email History to see if the email address bounced prior verification attempts. Reach out to the contact to ask them to add your organization to their allow list or verify that their address is correct.
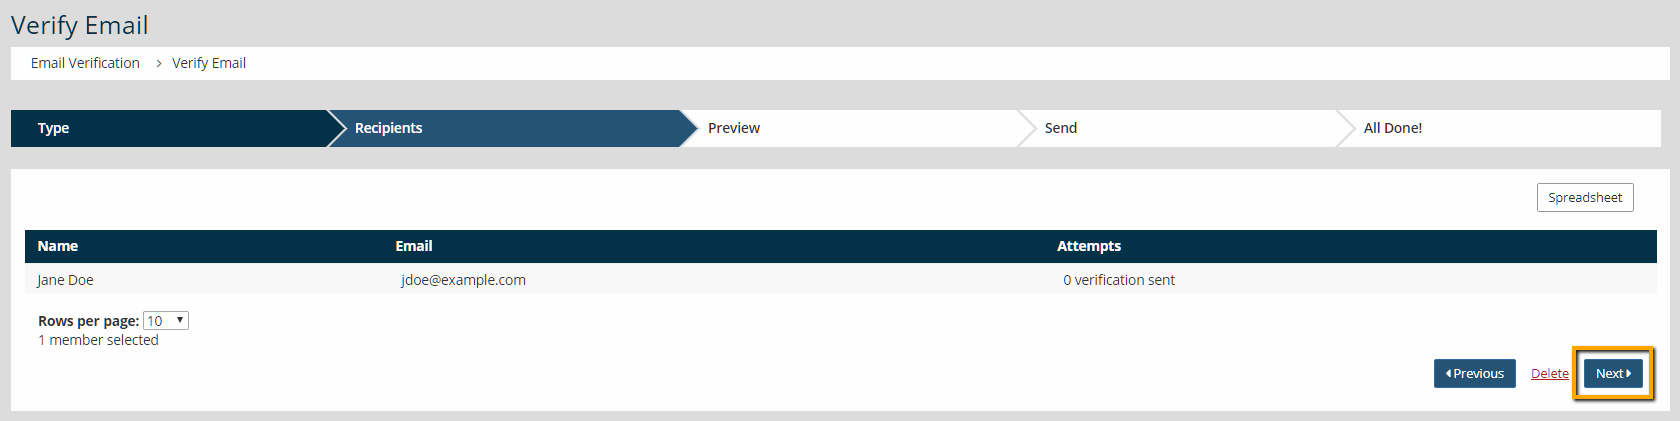
- The Recipients list contains all emails that fall within the Max Verifications Attempts. Review the list and click Next.
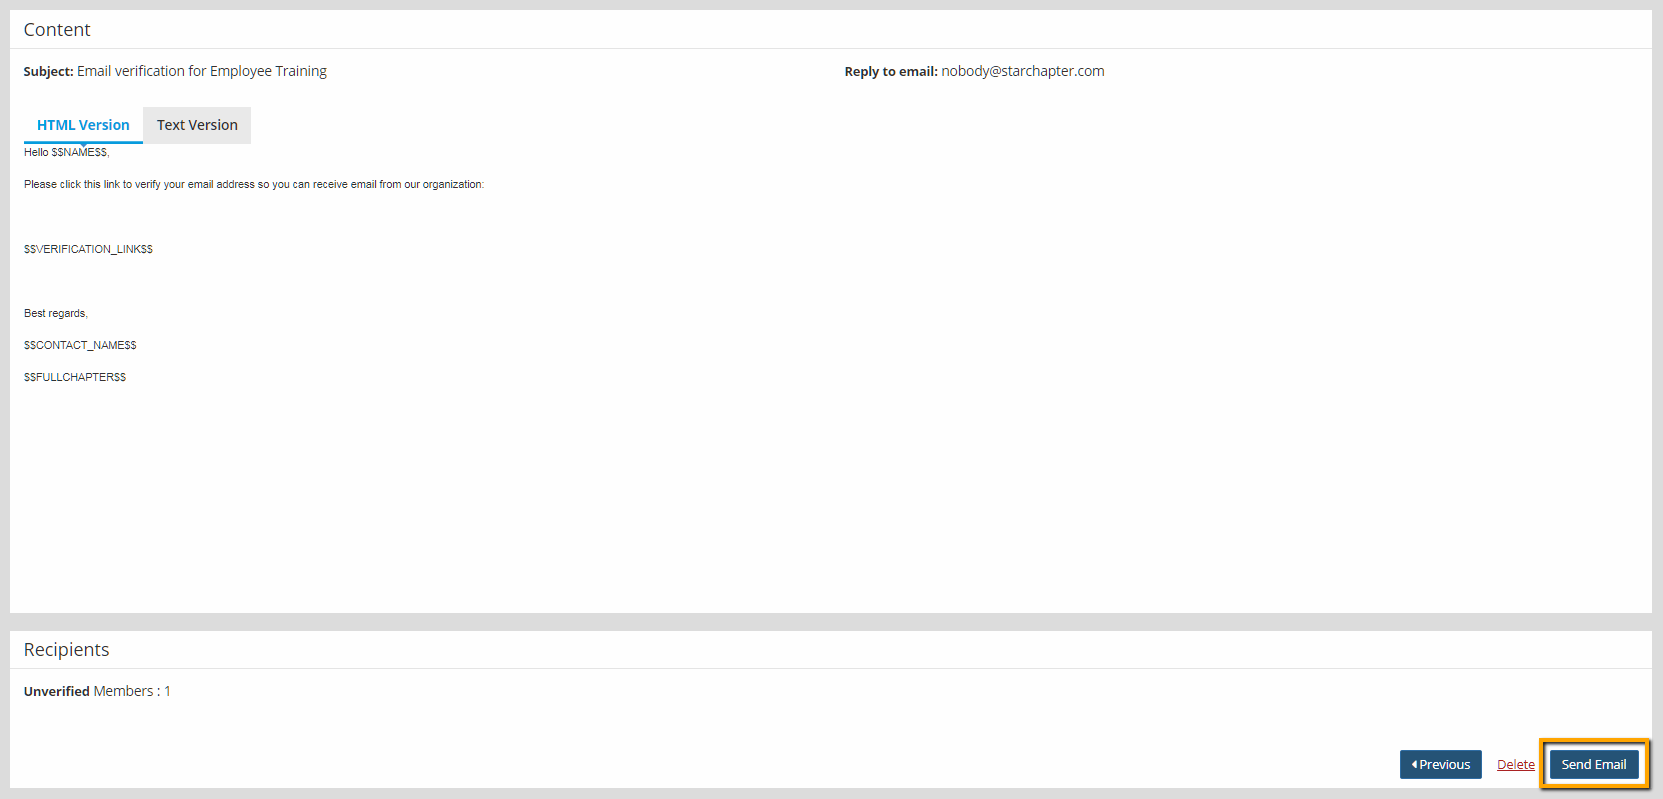
- Preview the email contents, and click Send Email.
The recipients then verify their emails by clicking on the link in the message. The member welcome email uses the password reset link instead of a verification link, but the recipient will be verified when setting the password.


