Create New Local Dues Rate
Creating Dues for your organization allows your new and renewing members to pay dues that are unique to your chapter.
Step 1: Create a Dues Rate
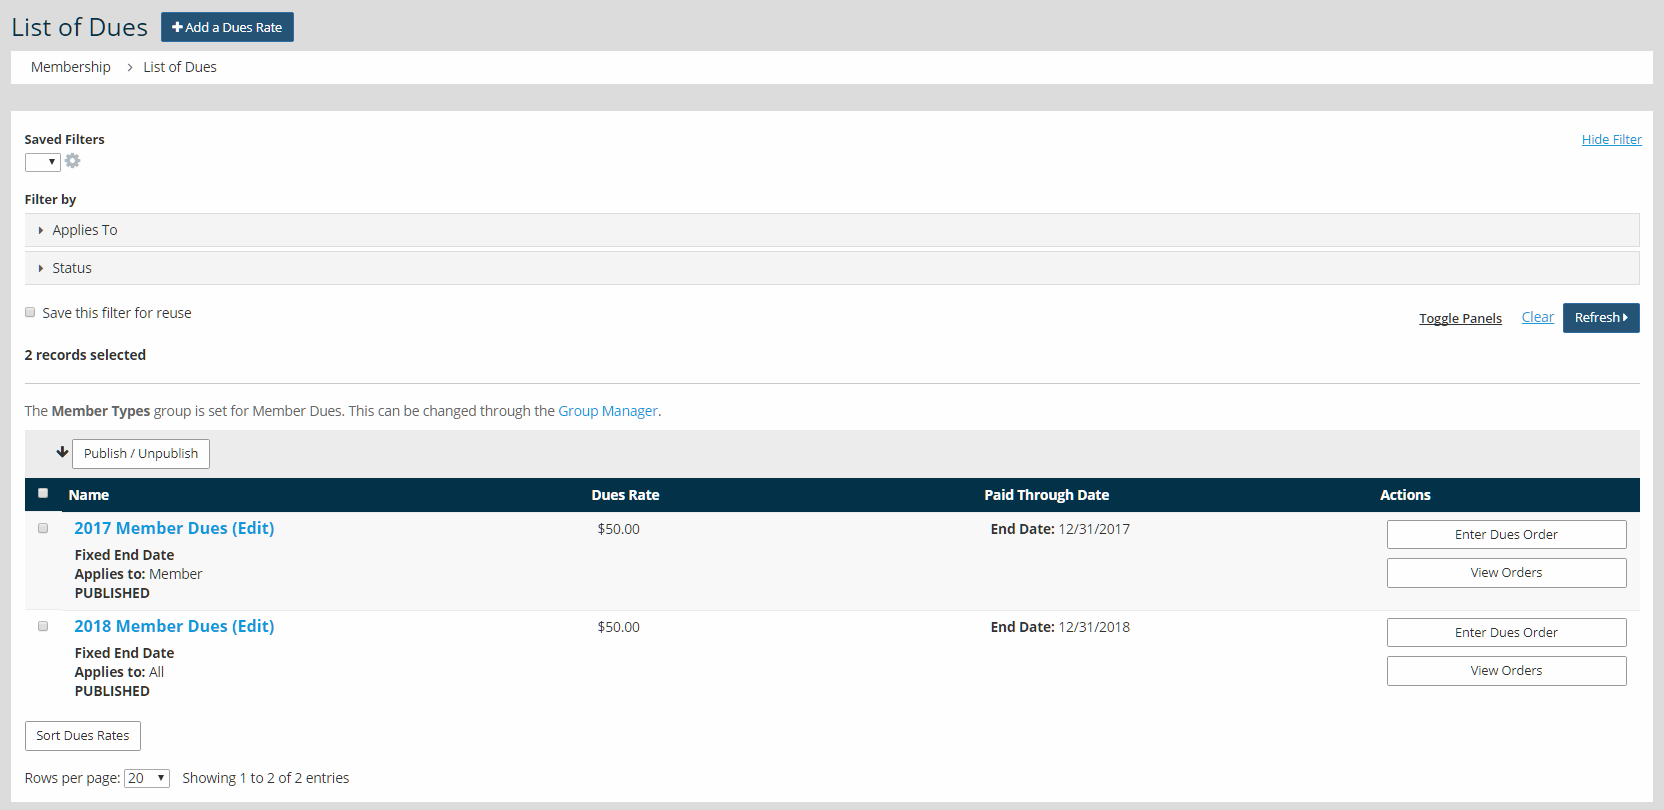
- Go to Membership > Dues Manager.
- Click Add a Dues Rate.

Tip: While it may seem faster to edit a rate and change its name and date, this is not recommended! Rates should always be named correctly and new ones created annually if they use a fixed end date. This greatly simplifies order reporting and bookkeeping. Editing an existing dues rate will cancel any member autorenewals that have opted-in to that dues rate.
- Name the new rate and click Publish if it should be immediately available.
- Click Next.
- Set the Amount and set the Member Type, if appropriate.
- Set a Paid Through Date Type.
Fixed Monthly Rate - Expiration will be updated the designated number of months forward from the join or current expiration date. (Auto-renewal available)
Fixed Monthly Rate with Forced State Date - All expiration dates will be the first of the month. If joining prior to the break day of the month, it will be the first of that month. If joining after the break day of the month, it will be the first of the following month. (Auto-renewal available)
Fixed End Date - All purchasers will have the assigned expiration date, regardless of date of purchase. Early Bird Discounts and Late Fees can be assessed. (Auto-renewal not available)
Fixed End Date with Prorated Rate - All purchasers will have the assigned expiration date. If joining partway through the current membership term, the rate will be prorated based on the remaining term. Proration can be calculated daily or monthly. The "Prorate starting on" should always be set to "Expiration Date" to ensure that late-paying current members don't receive a proration. Early Bird Discounts and Late Fees can be assessed. (Auto-renewal not available)
Yearly Dues Rate - All purchasers will have their expiration date automatically moved 12 months when renewed based on the calendar year you wish to set up for this rate. (Auto-renewal available) - Click Next.
Step 2: Connect the New Rates to the Member Application
- Go to Content > Page Manager > Form Builder.
- In the gray filters, choose Type and check the box for Member.
- Click Refresh. This selects all the member applications, no matter how many there are. Most organizations use only a single member application.

- Click on the application name.
- In the Type box, click Edit.
- A section labeled "Dues Rates to Include" shows all published rates, and check boxes indicate which rates the application offers. Be sure to clear the check boxes for any of last year's rates if applicable, and check the boxes for the coming year's rates.

- Click Next.
- Repeat these steps for every application that uses dues.
Step 3: Unpublish Expired Dues Rates If Applicable
For Fixed End Date and Fixed End Date with Prorated Rate, renewing members can't pay twice for the same membership period; however, the list of dues rates can get very long if old rates remain published.
- Go to Membership > Dues Manager.
- Every dues rate has a check box on the left. Check the boxes for any published and outdated rates.
- Click the Unpublish button at the top of the table.

Step 4: Send Renewal Reminders
Now that your dues rates are posted, it's time to send a renewal notice to existing members.
Send A Renewal Reminder Immediately
- Go to Communications > Send an Email.
- Click New Email > One-Time Email.

- Select Renewal Notice in the Mailing Type drop-down menu and your preferred email build from the Email drop-down.

- Click Next three times to reach the Recipients screen.
- Use the Expiring and Expired Members filter and add the expiration groups that should be included in the mailing.

- Click Next.
- Click Send Email.
Schedule For Later Option
Scheduled Renewal Notices save time. After the initial configuration, these notices go out automatically on a set schedule. This handles reminders without extra effort from board members. Scheduled mailings are not available on the Starter Plan.
When scheduling a reminder, note that the 90 days option includes members expiring in 30-60 days, so there is no need to create a monthly reminder for each timeframe. Creating multiple scheduled emails will result in duplicate renewal notices. Instead, set up a single monthly renewal notice for members expiring within 90 days and within the grace period.