Optimize Images within Text Blocks
For a professional look, images can be nested within blocks of text. This breaks up large blocks of text without making the page very long. This is particularly useful when highlighting speakers or partners that have descriptive text to accompany a headshot or logo.
- Within any WYSIWYG editor, add text.
- Place the cursor in the area where the image should be placed.
- Click the Insert/Edit Image button.
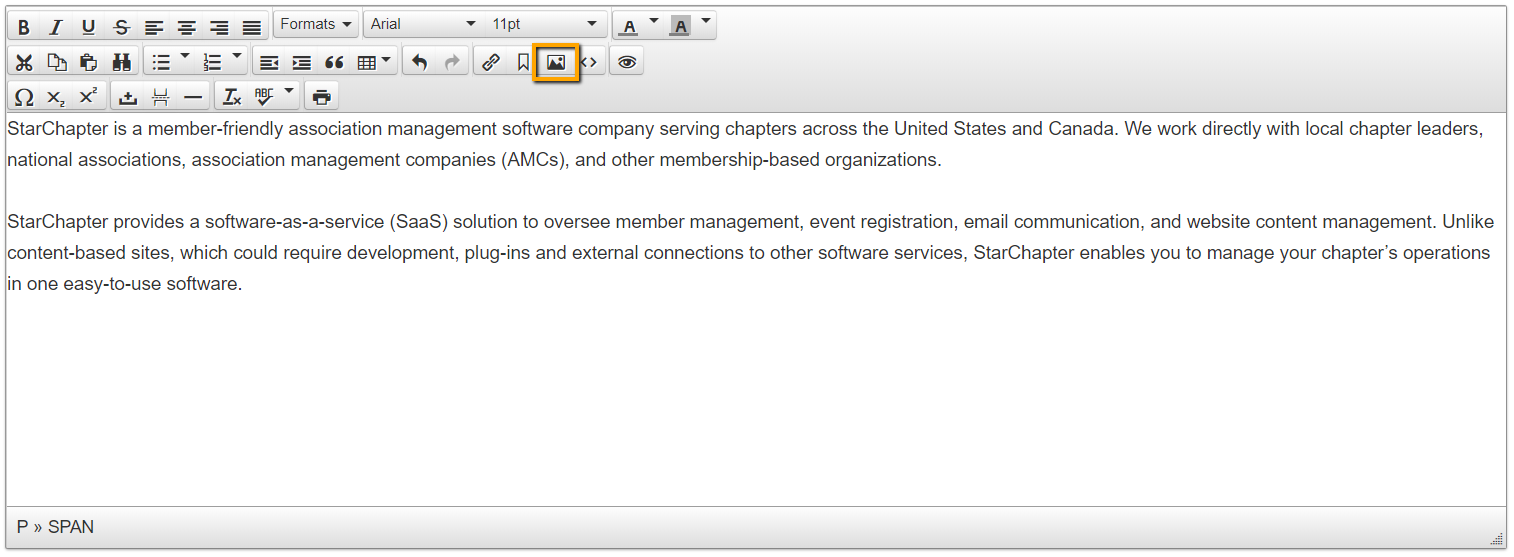
- Click the Search button.
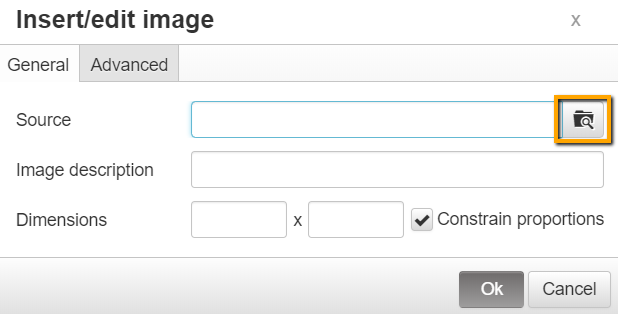
- Select the image from the Moxie Manager, or click the Upload button to add a new image to the Moxie Manager.
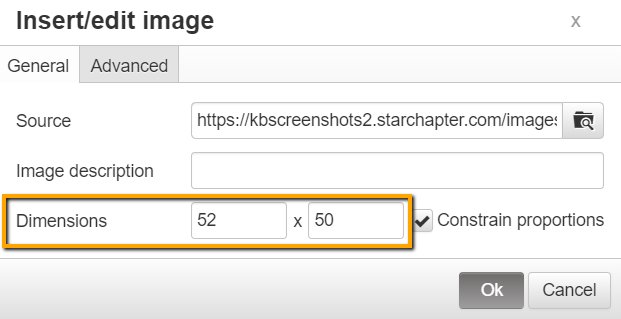
- On the General tab, update the "Dimensions," if appropriate.
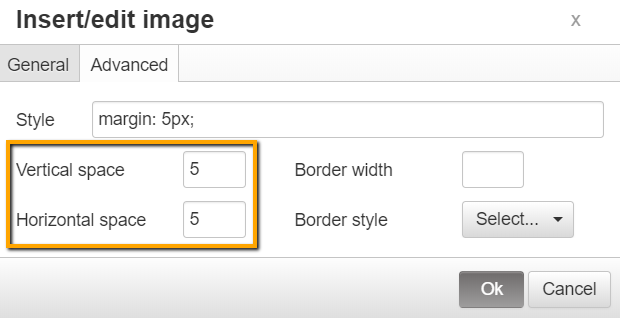
- On the Advanced tab, add some padding to the "Vertical space" and "Horizontal space" fields. Typically 5-10 pixels is enough to ensure that text next to the image is legible.
- Click OK.
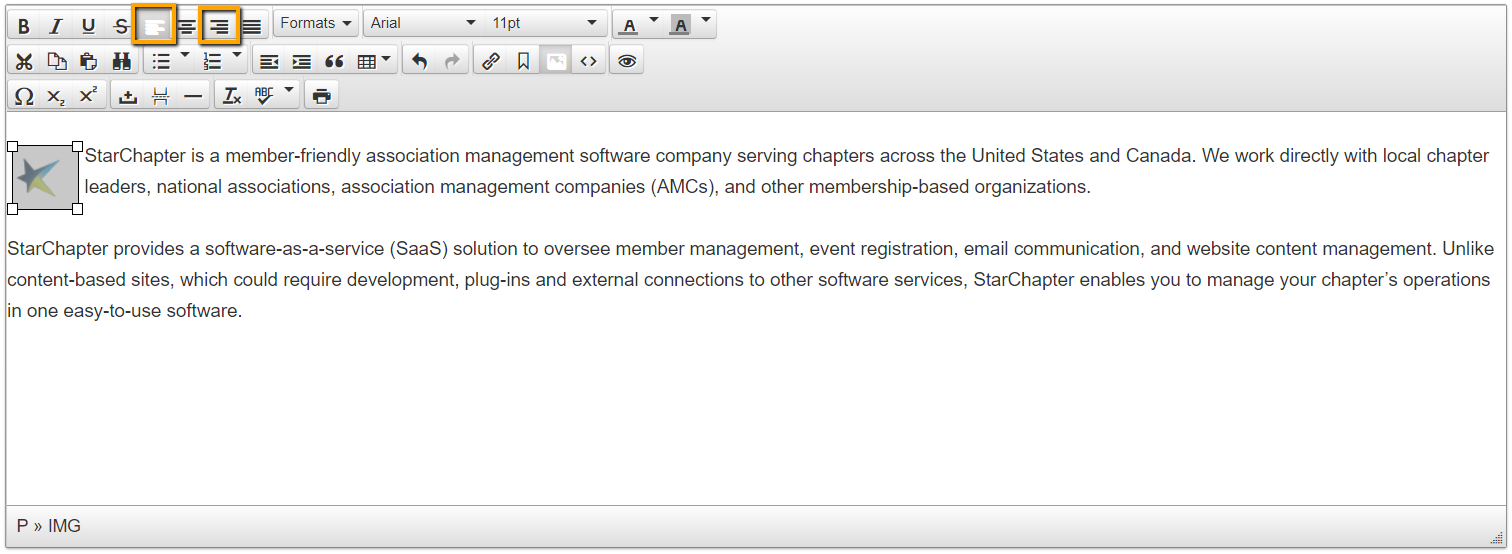
- Note that the text will be shifted down and aligned with the bottom edge of the image. To wrap text around the image, ensure that the image is highlighted and click the Align Left or Align Right buttons.