Manage a Meeting Wait List
StarChapter allows a wait list option for meetings and events.
Initial Setup
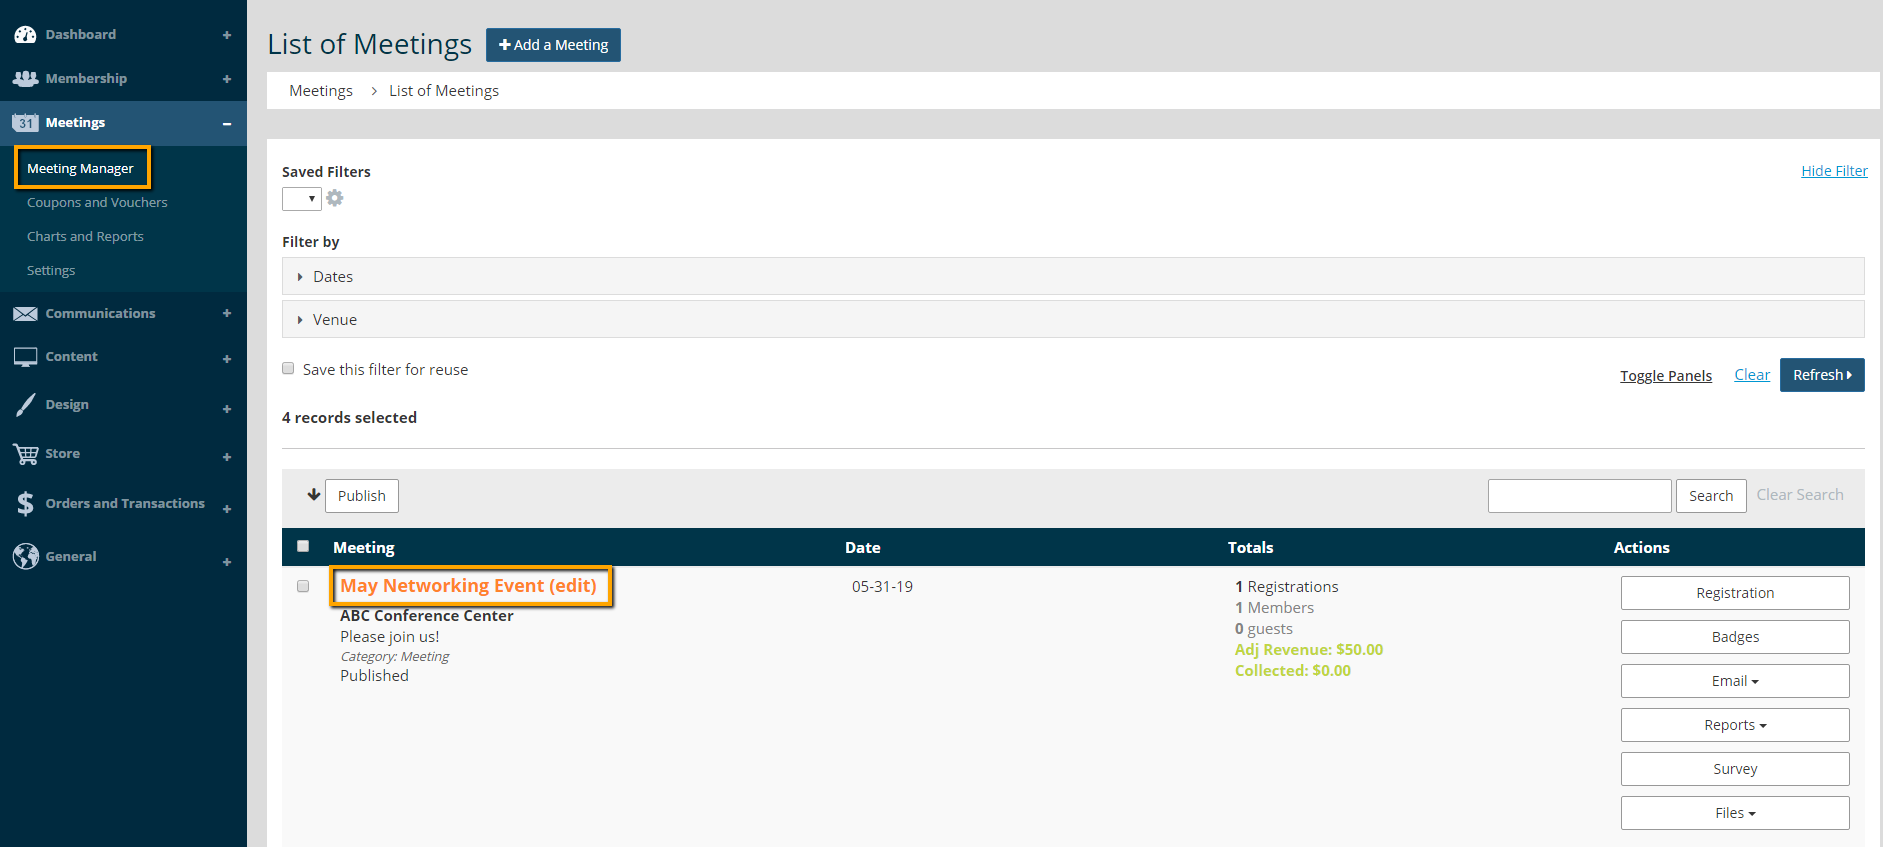
- To setup for an existing meeting, go to Meetings > Meeting Manager. Click on the meeting name.
- Find the Registration Details section and click Edit.

- Locate the Max Attendance field and enter the attendance cap.

- Click Save.
Wait List Registration For Members And Non-Members
Registration closes once the Max Attendance number is greater than the field entry. When meeting registrants attempt to purchase tickets on the front end, they see this message:
Once a visitor signs up via the 'Name' and 'Email' fields, then an onscreen message appears.
 |
Tip: To change this message, go to Meetings > Settings > Messages and Forms. Locate the field "Thank you message displayed for signing up for the waiting list" to update the text. |
Managing The Wait List
Anyone who signs up on the waiting list populates into the Meeting Waiting List report. This is available via Meetings > Charts & Reports > Reports > Meeting Waiting List.

To access the waiting list for a specific meeting, select the meeting from the drop down list and click Refresh.
This displays a list of meeting registrants on the wait list. The display is in chronological order, and the first wait list meeting registrant shows at the top.
There is also an option to Print the waiting list.
Notifying Registrants About An Opening
Additional Space Becomes Available
If additional venue space becomes available, then increase the Max Attendance field in Meeting Manager. Email the first person on the Meeting Waiting List report and send the meeting registration link. Ask the meeting registrant on the wait list to complete the full process on the front end.
|
Tip: Alternately, go to Meetings > Meeting Manager, and click the Registration button next to the meeting. Click Add a Registration and enter a registration on behalf of the meeting registrant. This allows the meeting registrant to pay by cash or check at the meeting. |
A Current Registrant Cancels a Registration
- If a current registrant cancels a registration, then go to Meetings > Meeting Manager, and click the Registration button next to the meeting.

- Search for the registrant, and click the Cancel button to remove their registration from the meeting.


Warning: Cancelling a meeting registration does not automatically issue a refund. Make sure to go to General > Orders > Order Manager and add an adjustment for any refunds. Contact your payment gateway to issue a refund for credit card payments.
- This opens the amount of registration spots available in the cancelled order. Email the first person on the Meeting Waiting List report and send the meeting registration link. This person can then complete the registration process.
Tip: Make sure to set a time limit for the person on the wait list to register. Another registrant could take the open spot if the person on the wait list does not complete the process in a timely manner.