Format Tables
Tables can be a convenient way to organize some content, but it's important to format them so they fit in well with the rest of your website. One concern with tables is that they don't always respond well to mobile displays. This can mean that pages including tables may not be optimized for users on mobile devices. For this reason, only use tables when they can't be avoided and try to keep them relatively small. If a larger table is needed as a reference, consider uploading a spreadsheet and linking that within your content.
Please note that tables are not intended for use with Board of Directors or Committee Displays. Those types of content have purpose-built content sections within StarChapter that are more efficient to use and provide a more professional display.
Add a Table
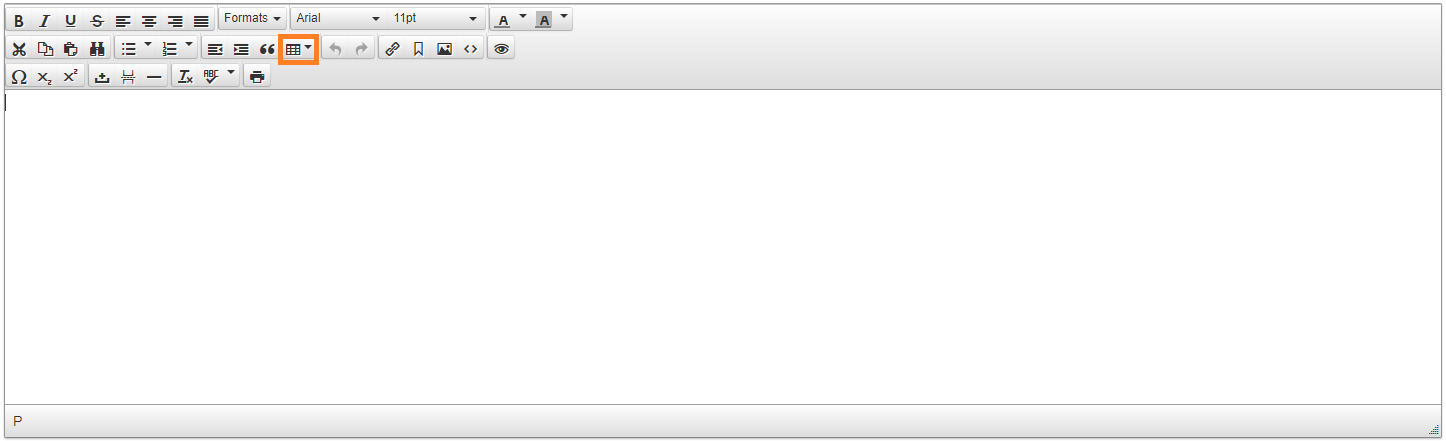
- Within any text editor, click the Table button.
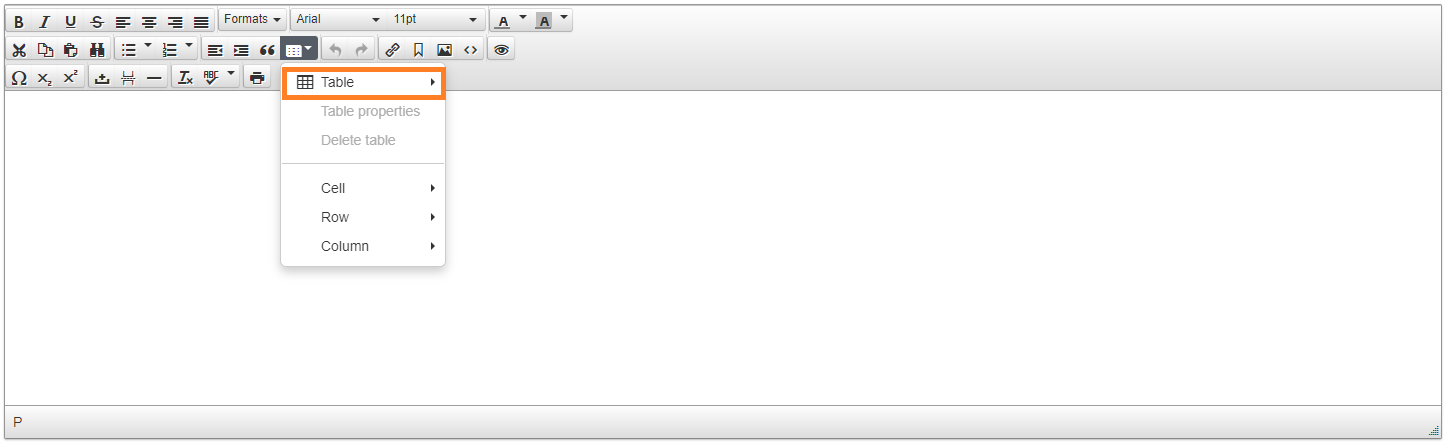
- Hover over Table.
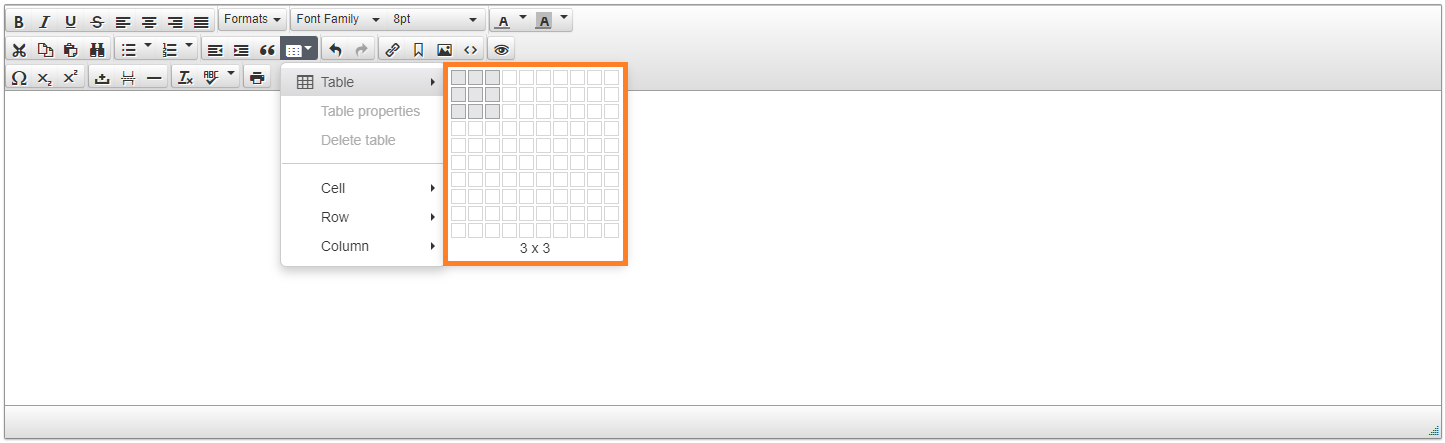
- Drag your mouse over the pop-out grid to indicate the number of rows and columns you would like your table to have. This can be modified in the future, but it's helpful to start out close to what you'll need.
- Click the bottom right corner of your selected range to place the table into the text editor.
- Populate the table with your content.
Resize a Table
- Place your cursor anywhere in the table.
- Use the highlighted squares at the outside corners to drag the table to your preferred size.
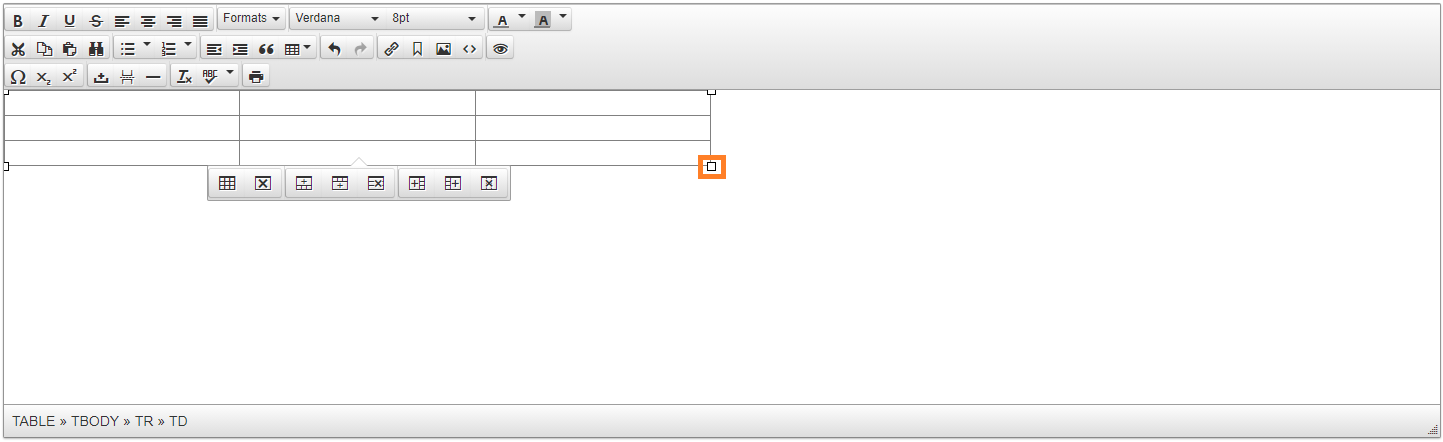
Add/Delete Rows or Columns from a Table
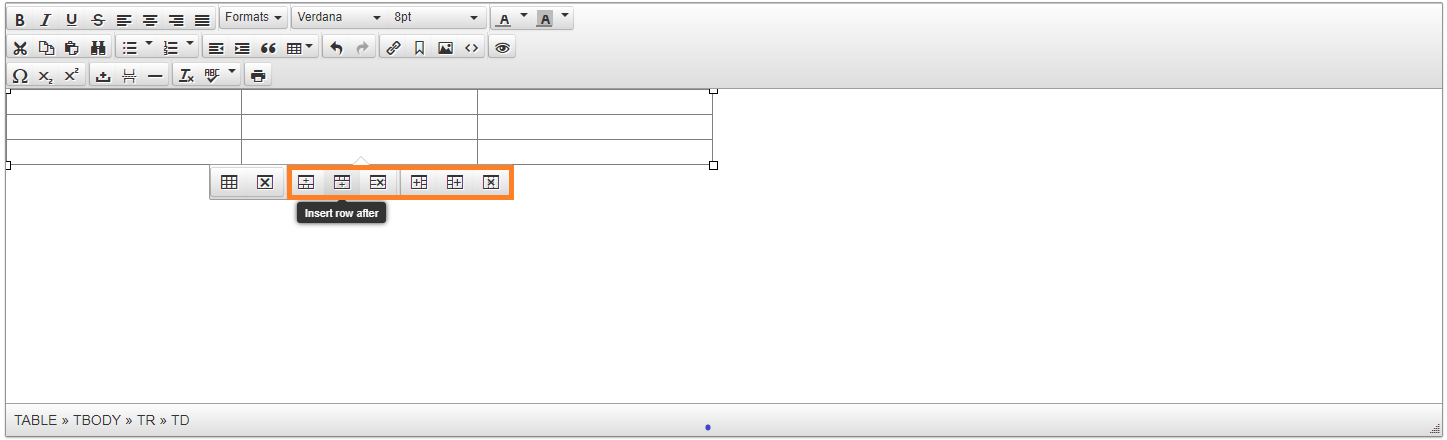
- Place your cursor in the row or column you want to modify.
- Click the appropriate button in the table menu shown below the table. Hover over each button to see whether it's to add before, add after, or delete the row or column your cursor is in.
Delete a Table
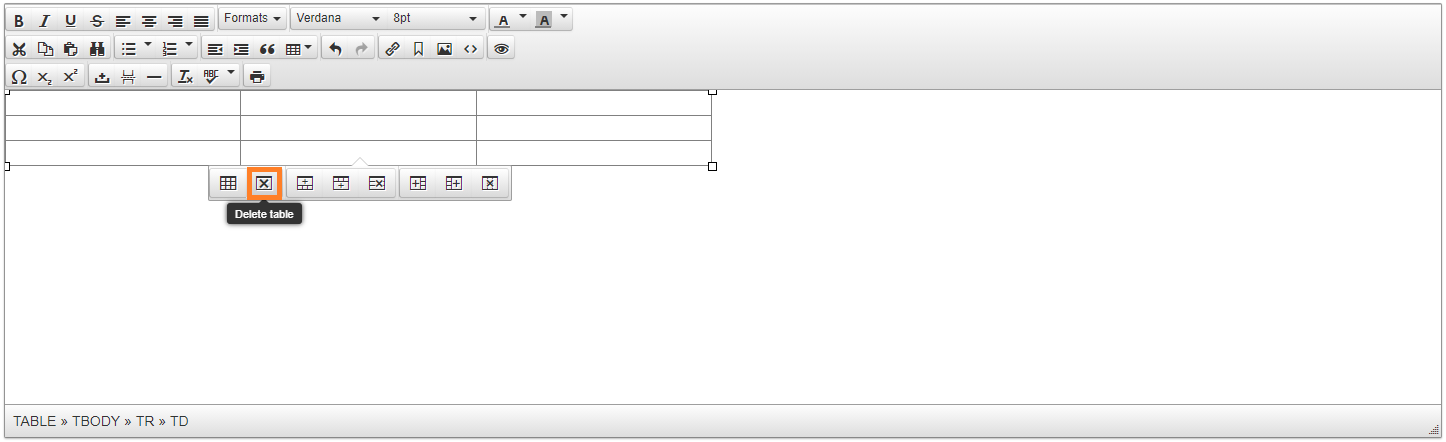
- Place your cursor in the table.
- Click the Delete Table button on the table menu.
Format a Table
- Place your cursor in the table.
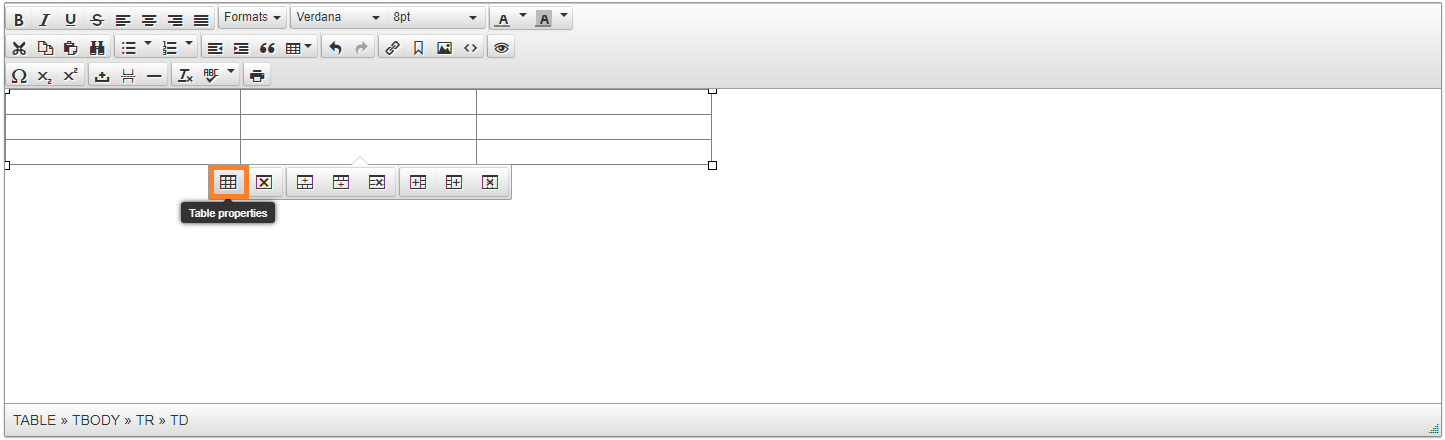
- Click the Table Properties button in the table menu.
- To remove the table borders, update the Border field to "0."
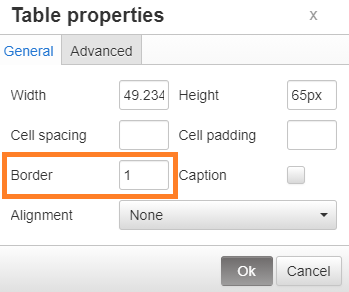
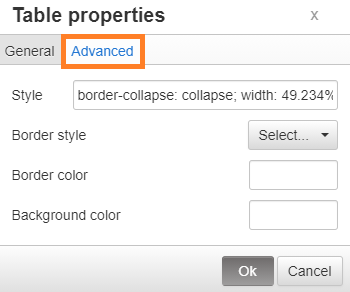
- To change the table boarders, click on the Advanced tab and update the Border style and/or Border color fields. Hex color codes must be used in the color field.
- To change the background color of your table, click on the Advanced tab and update the Background color field. Hex color codes must be used in the color field.

Tip: To center text within a table, highlight the text and use the alignment button on the text editor.
- When all updates are complete, click Ok.