Manually Add a Member
StarChapter provides many tools to automate chapter management tasks and ensure that all memberships are managed by a standard process. For this reason, we strongly recommend against manually adding member profiles to the system. Instead, Member Application forms will automatically create profiles upon submission (for chapters managing dues locally) and the Import Manager will sync the local roster with one provided by a parent organization. While those automated processes are preferred, the system does permit manual Member setup, if needed. If you believe this is appropriate for your chapter, please reach out to our Support Team to confirm that we don't have a more automated way for you to manage membership long term. This resource focuses on required fields only, but all other member information can be added to appropriate fields while moving through the setup.
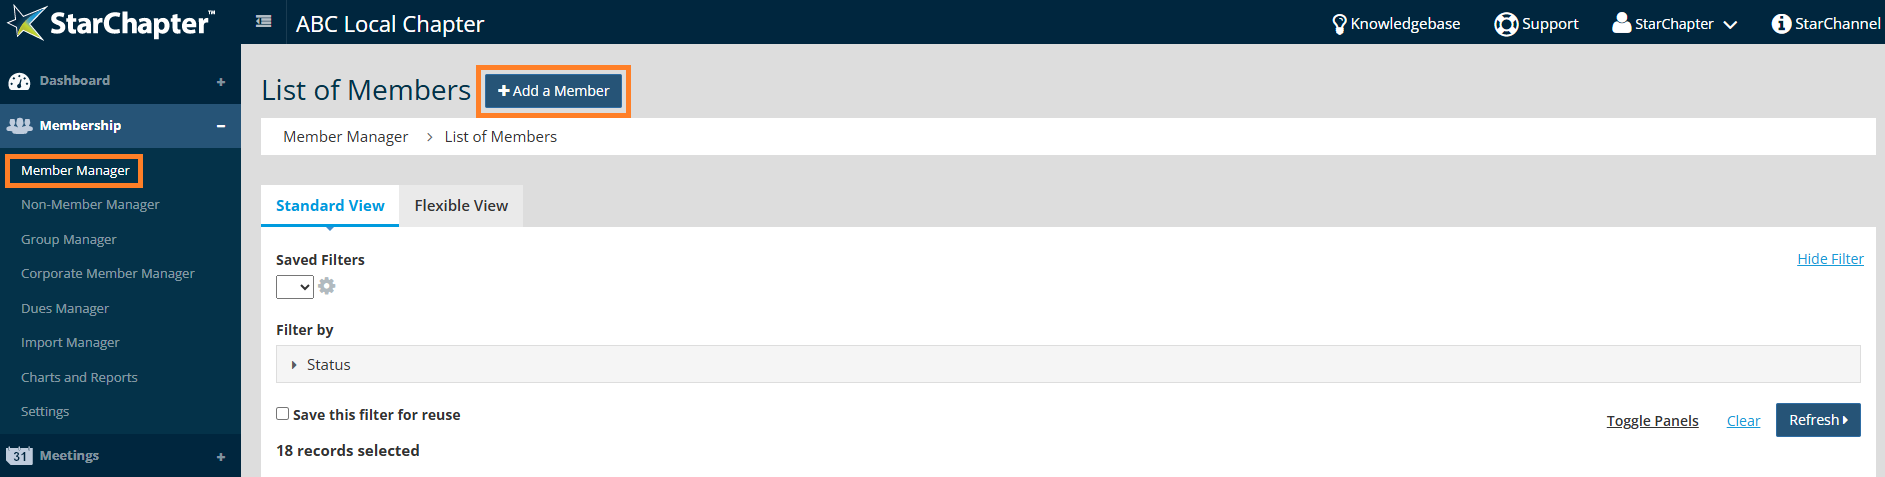
- Go to Membership > Member Manager.
- Click Add a Member.
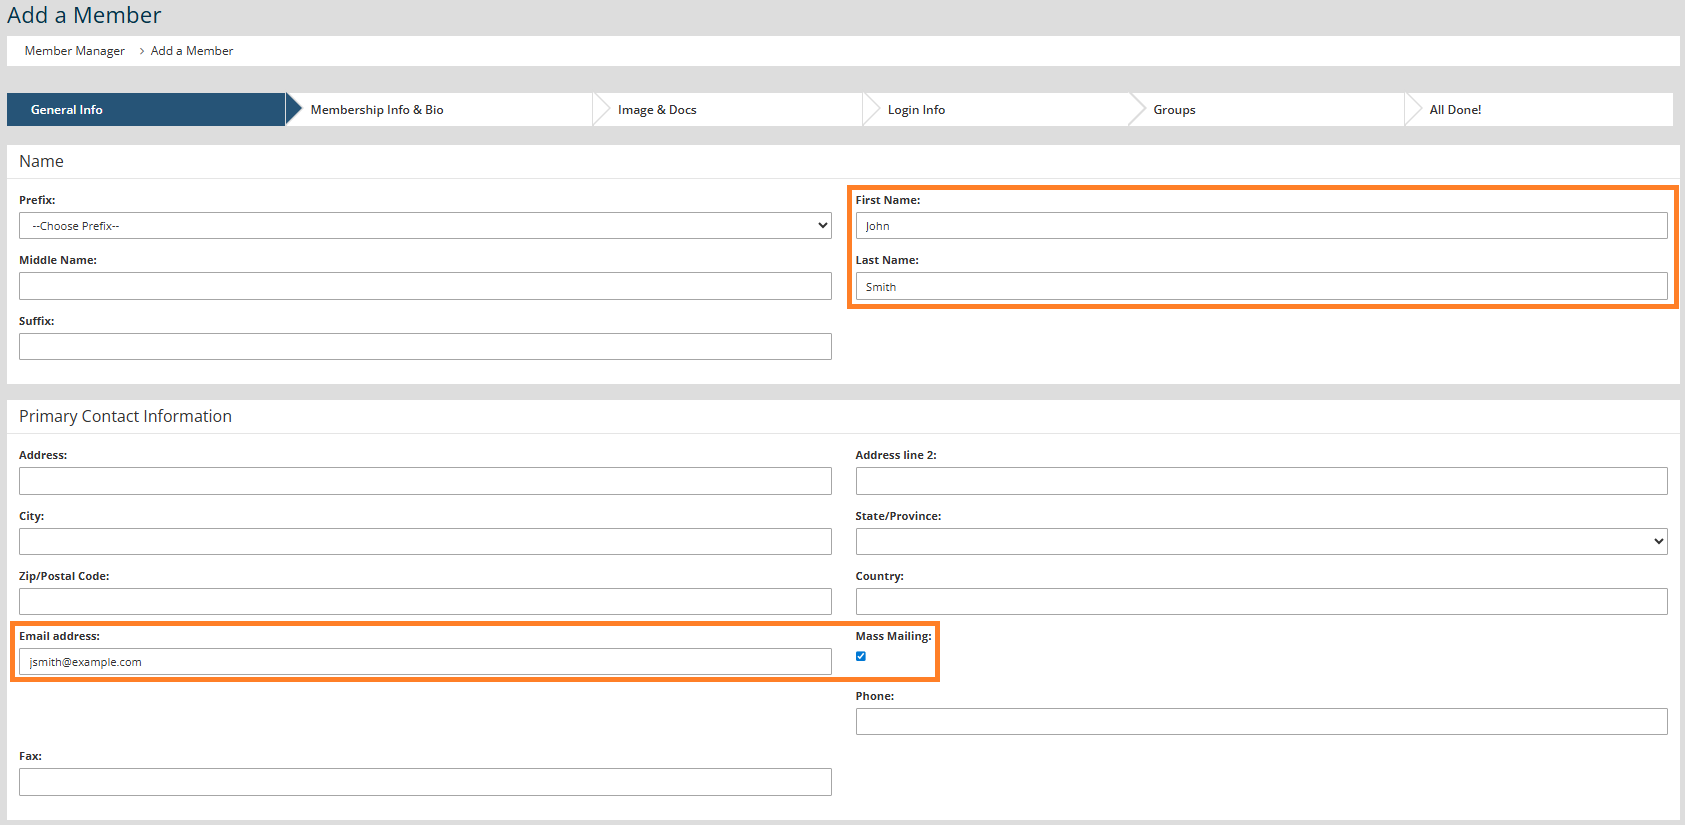
- On the General Info page:
- Fill in all necessary fields.
- The "First Name," "Last Name," and "Email Address" fields are required.
- Check the "Mass Mailing" setting to subscribe the member to your email list.
- Click Next.
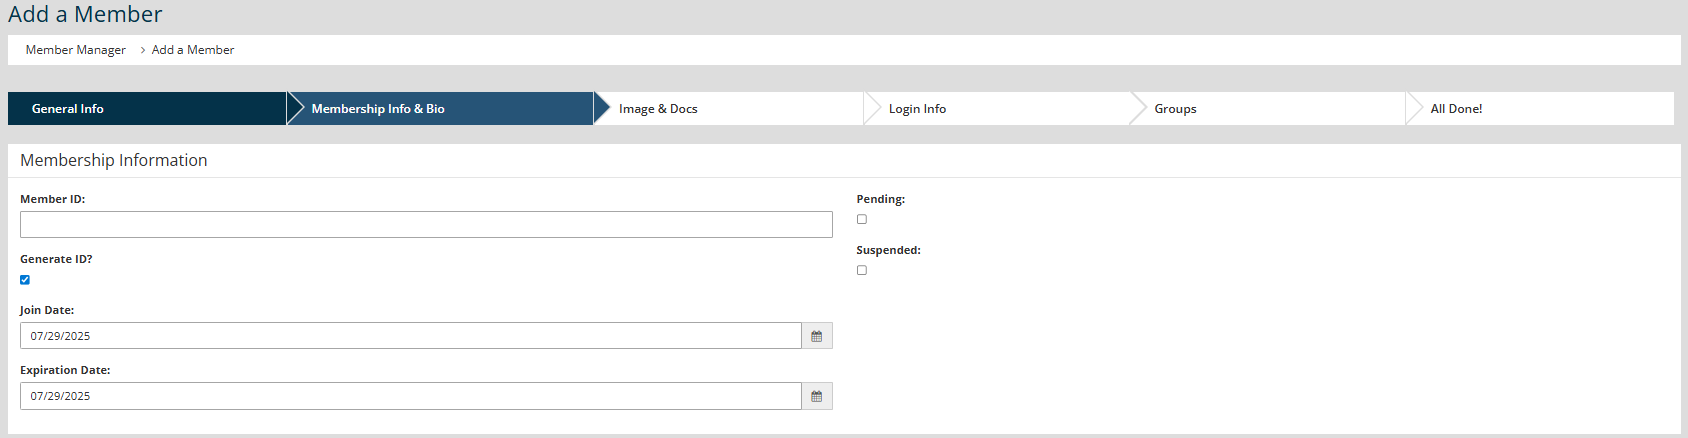
- On the Membership Info & Bio page:
- Enter the correct "Member ID" or check the Generate ID box. The "Member ID" cannot be changed after the profile is created, so the profile cannot be setup without this information.

Tip: If member data is provided by a parent organization, the provided Member ID should always be used to ensure that Member Imports can be supported in the future.
- Remove the checkmark on Pending status.
- Update the "Join Date" and "Expiration Date."
- Click Next.
- Enter the correct "Member ID" or check the Generate ID box. The "Member ID" cannot be changed after the profile is created, so the profile cannot be setup without this information.
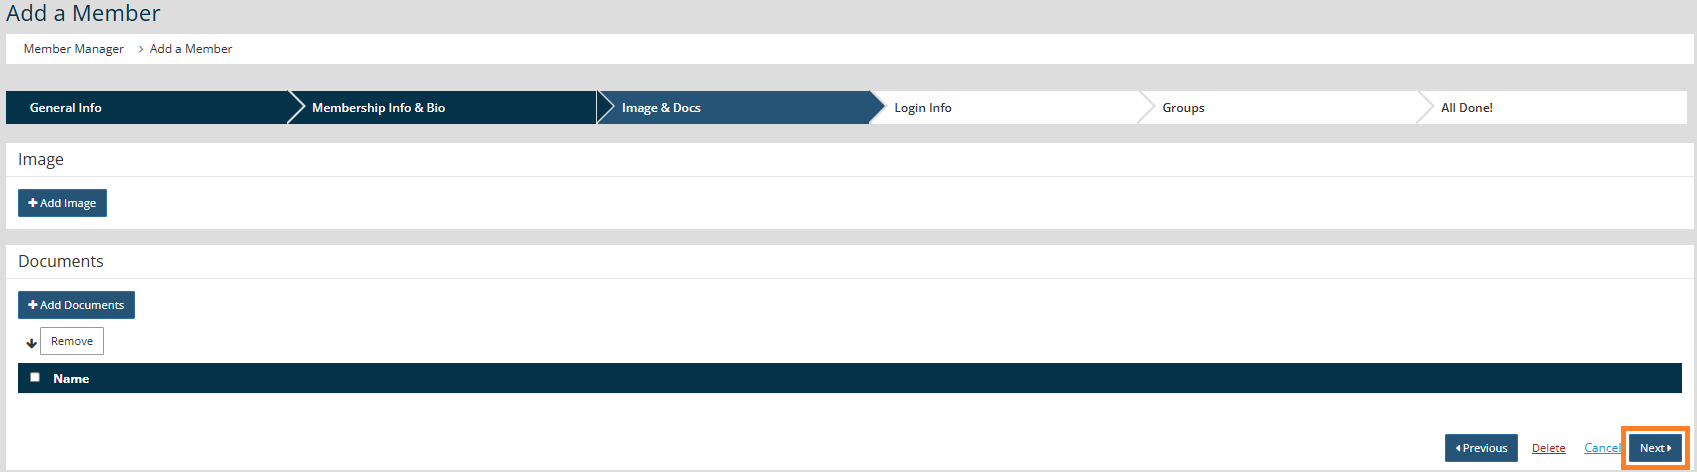
- On the Image & Docs page, click Next.
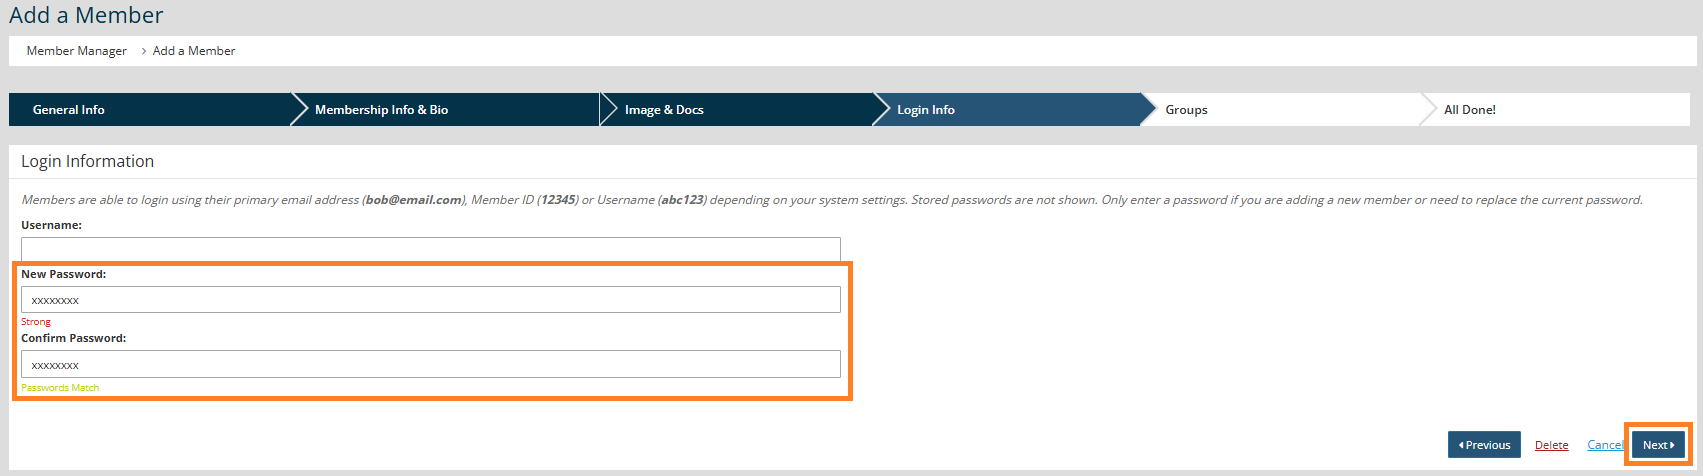
- On the Login Info page:
- Leave the "Username" blank as the member can create that when they initially login.
- Enter a placeholder "New Password" and "Confirm Password" (minimum of 8 characters,) but the member will be able to set their own password the first time they login.
- Click Next.
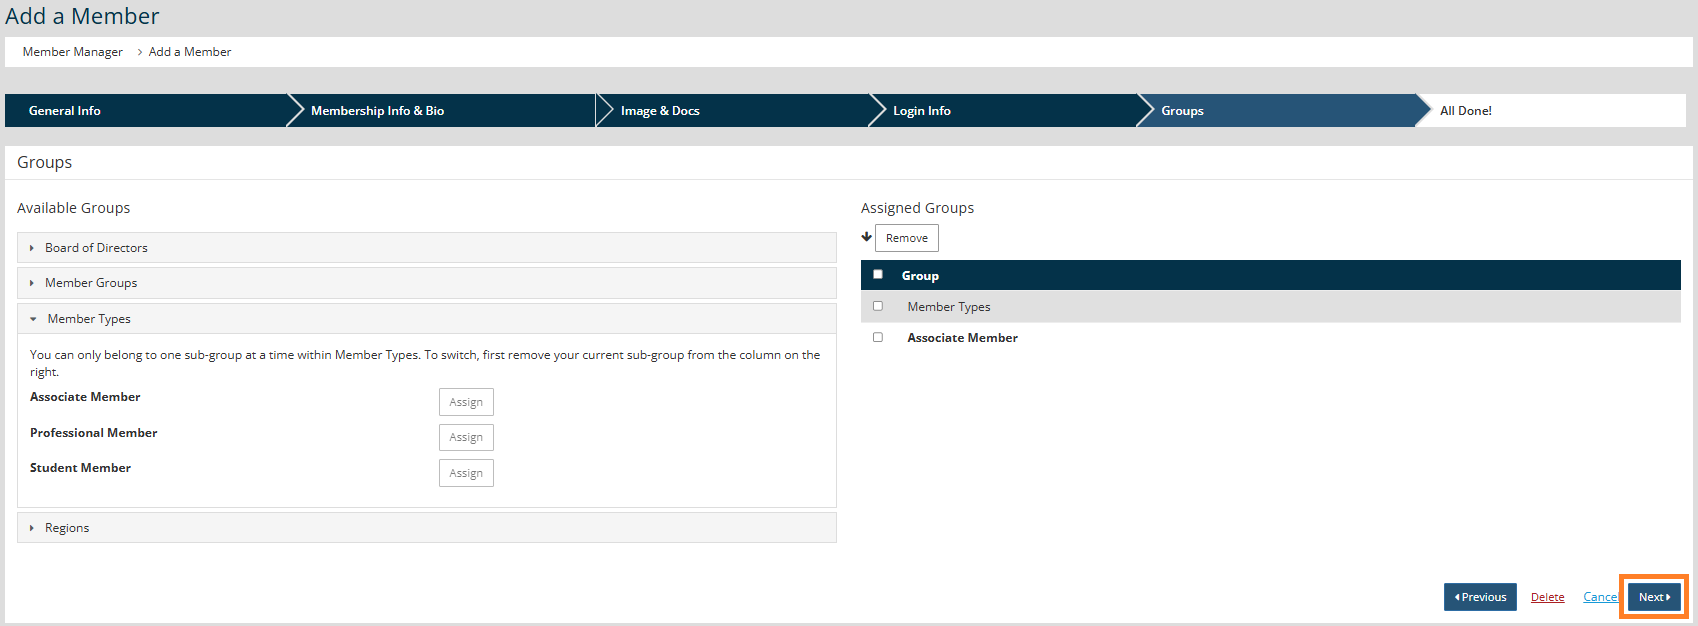
- On the Groups page:
- Add the Member to the appropriate groups based on their Member Type, Leadership position, or other group criteria.
- Click Next.