Create a New Group
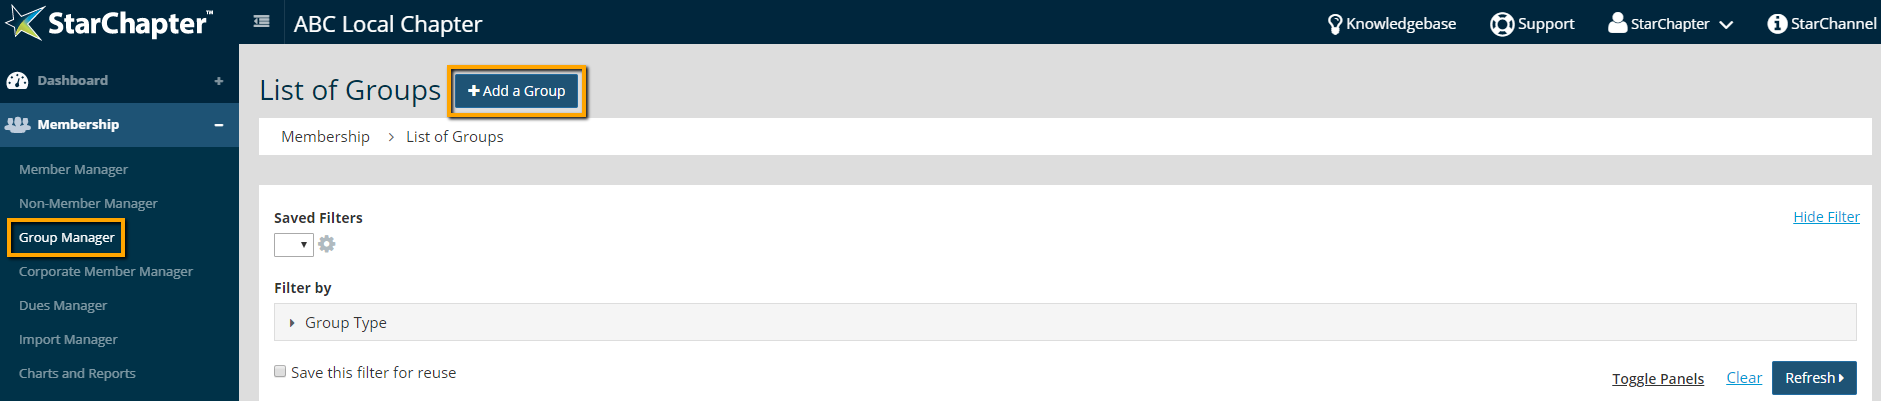
- Go to Membership > Group Manager.
- Click the Add a Group button.
- Name the group. Groups are structured in a tiered format, so you'll have a single group with multiple subgroups. Members are assigned to the subgroups. For instance, you might have a Regions group with Eastern, Southwest, and Northern regions that members are assigned to.
- In the Group Type field, select Member or Non-Member based on the type of contact to be assigned to this group.
- Click Next.
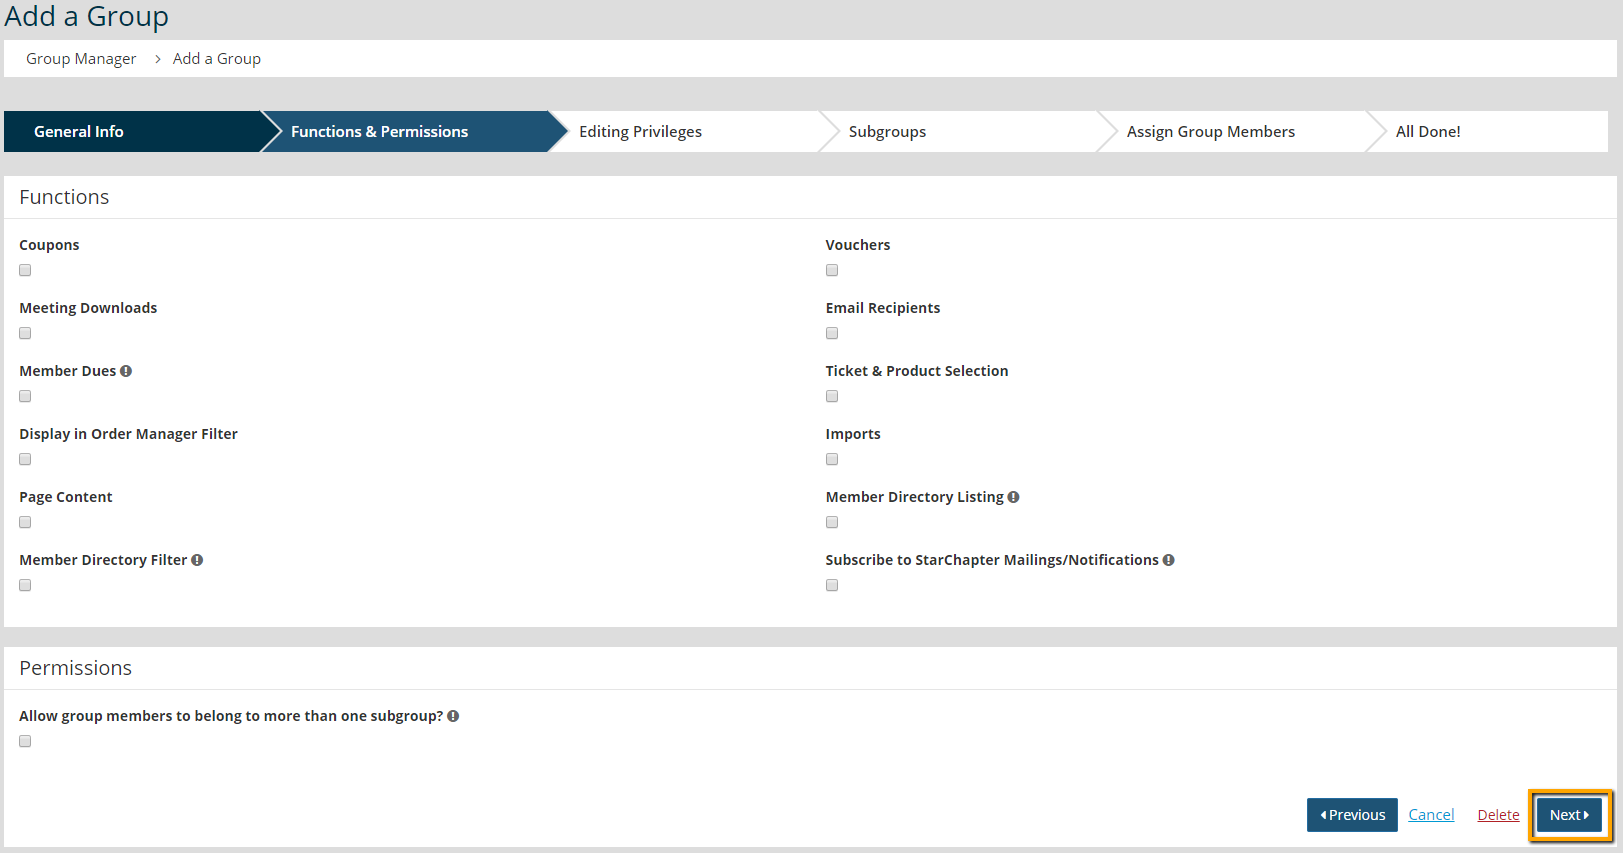
- Define the Functions of this group. Only enable items that you plan to use the group for. Functions can be edited as needed.
Coupons - Allows for coupons to be created and restricted to a specific subgroup within the system. This function is available for Member Groups only.
Vouchers - Enables voucher creation for an entire subgroup of members at once. This is perfect for pre-paid membership programs. This function is available for Member Groups only.
Meeting Downloads - Documents uploaded to meetings can be restricted to specific subgroups of membership.
Email Recipient - Emails can be targeted to anyone assigned to a particular subgroup using the Member Groups or Non-Member Groups filters in the Email Manager.
Member Dues - Only one group can have this function enabled. When enabled, these subgroups will be available to link to dues rates within the Dues Manager. This function is available for Member Groups only.
Ticket & Product Selection - Ticket and product purchases can be limited to specific subgroups in the system. With this function enabled, those subgroups will display in the list of restriction options in tickets.
Display in Order Manager Filter - In addition to the built-in filters within Order Manager, any group can be assigned as a filter. This is helpful if revenue is tracked based on some group assignment within the system. This function is available for Member Groups only.
Imports - This function allows subgroups to be defined that will not be affected by imports to the system. This would be useful if membership is a combination of both National and local-only members.
Page Content - Pages or content sections can be limited to specific subgroups within the system, when this function is enabled.
Member Directory Listing - With this function enabled, specific subgroups can be set to display or not display in the Member Directory. This function is available for Member Groups only.
Member Directory Filter - A filter with the same group label and subgroup options as the defined group will be included on the Member Directory page, with this option. This function is available for Member Groups only.
Subscribe to StarChapter Mailings/Notifications - This setting should only be enabled for the Board of Directors group, in most cases. With this enabled, all members of the group will receive email updates from StarChapter. - If members can be assigned to more than one subgroup, enable the "Allow group members to belong to more than one subgroup?" option.
- Click Next.
- If members can assign and remove themselves from the group, enable the "Allow group members to self-manage listing?" setting. Members can access their group assignments in the Group section of their Member Information Editor, when this option is enabled.
- Click Next.
- Click the Add a Subgroup button.
- Name the subgroup.
- If this group is to define whether members should be displayed in the Member Directory, check the "Front-End Directory Listing" option, if they should be included.
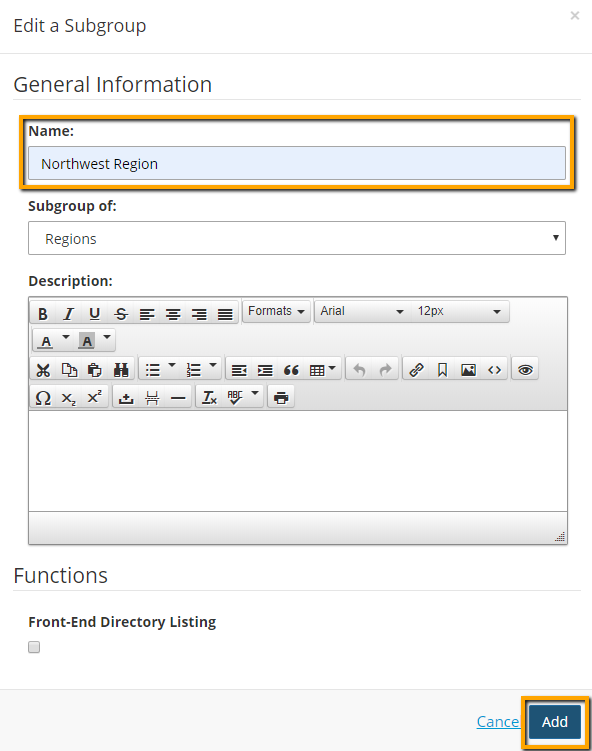
- Click Add.
- Repeat steps 10-13 for all necessary subgroups.

Tip: If subgroups will be populated with an import, only one subgroup must be setup. All additional subgroups will be created automatically during the import process.
- Click Next.
- To assign group members, click the subgroup to populated. Begin to type the member's name and select them from the list of matching members from your roster.
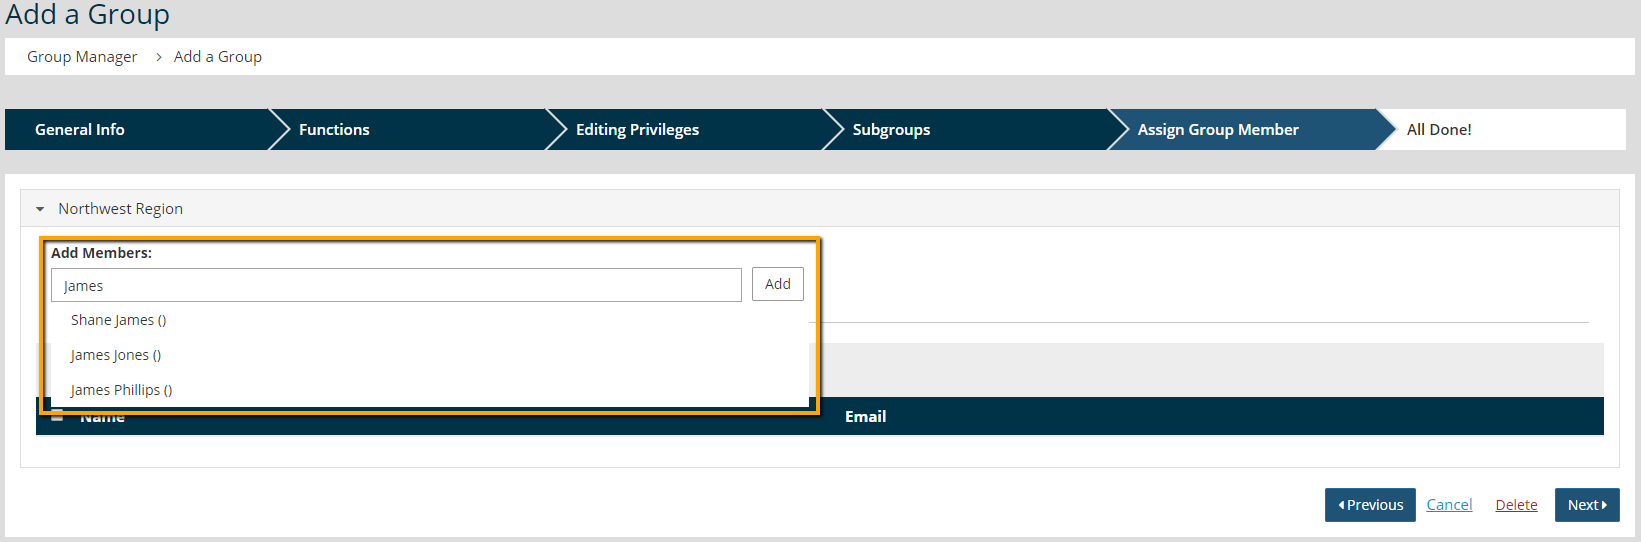
- Click Next.