Clean Up Announcements
When Announcements are created, they can be set up with automated publish and expiration dates or this can be done manually. If an Announcement is currently published, it will be included on the /announcements.php page and any Public Announcements content sections throughout the system. The method to unpublish or archive an Announcement will vary based on how it was originally published and set up.
Identify Announcement Status
Before Announcements can be removed from the website, the current status must be determined. Review the following examples and compare this to the status of your Announcements.
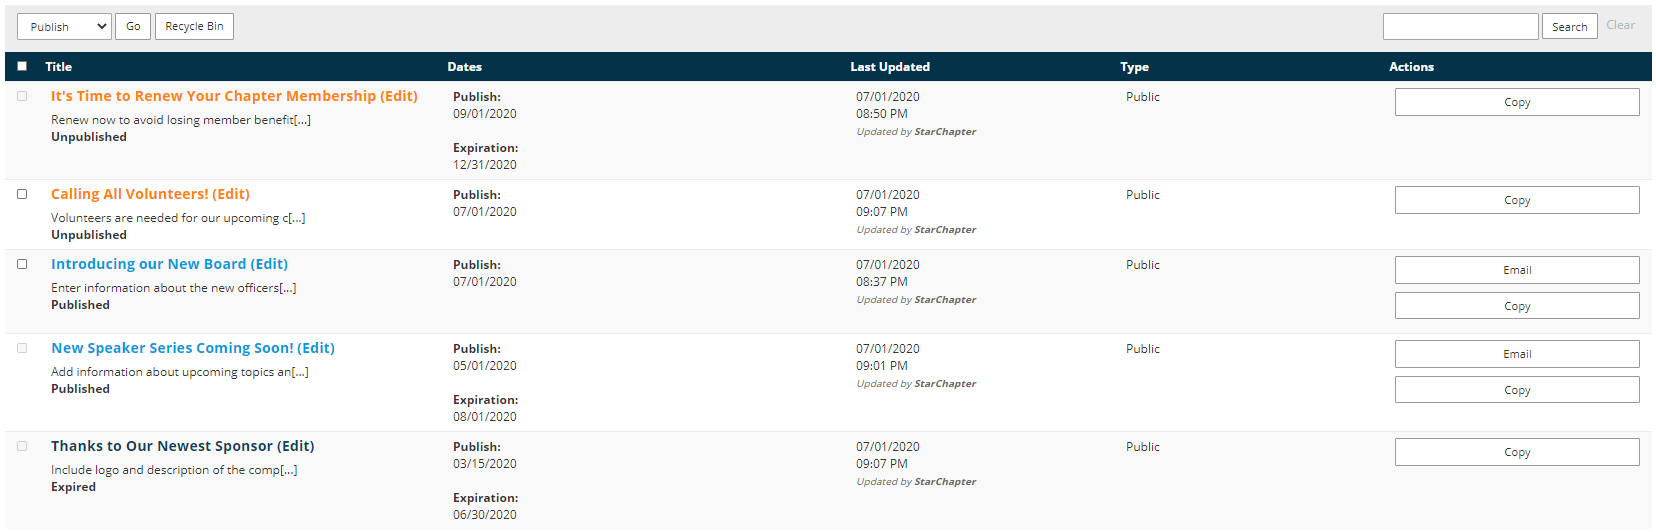
Unpublished
Unpublished Announcements are not yet published to the website. This may mean that a publish date was not set or that the publish date is in the future.
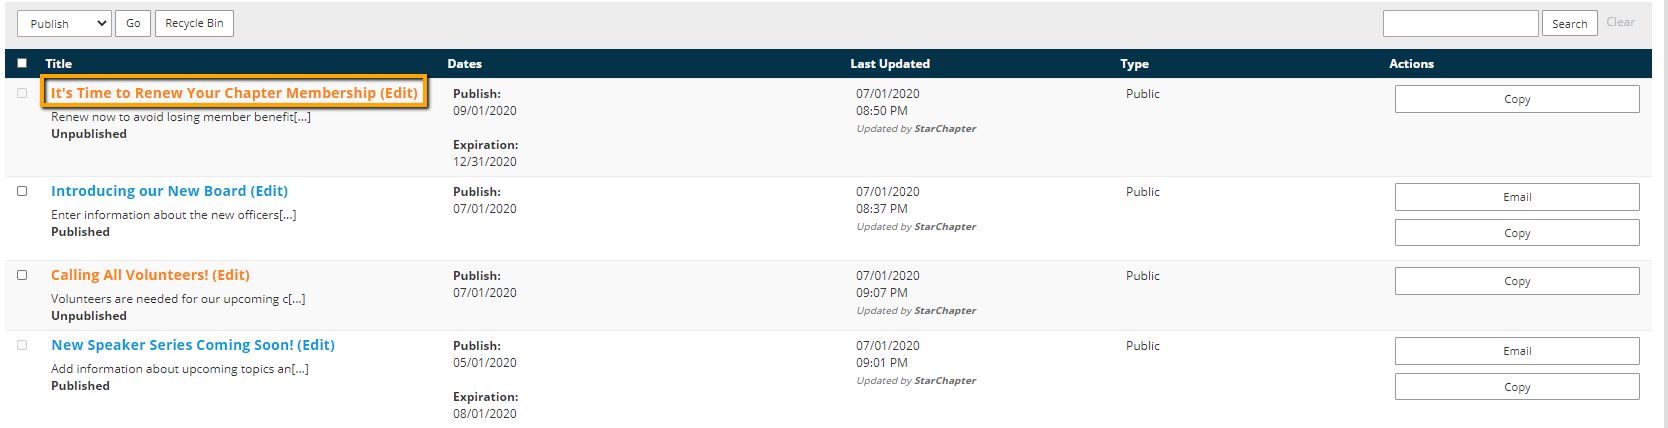
If the box to the left of the Unpublished Announcement is greyed out, such as the "It's Time to Renew Your Chapter Membership" example, an auto-publish date has been set for the announcement. To publish this Announcement immediately, edit the Announcement, remove the Publish date, and save the Announcement. Then, proceed as described below.
If the box to the left of the Unpublished Announcement is active, such as the "Calling All Volunteers!" example, click that box to select it. Then, choose Publish from the drop-down menu at the top of the table. Click Go to publish the selected Announcement(s).
Published
Published Announcements are currently being displayed on the website.
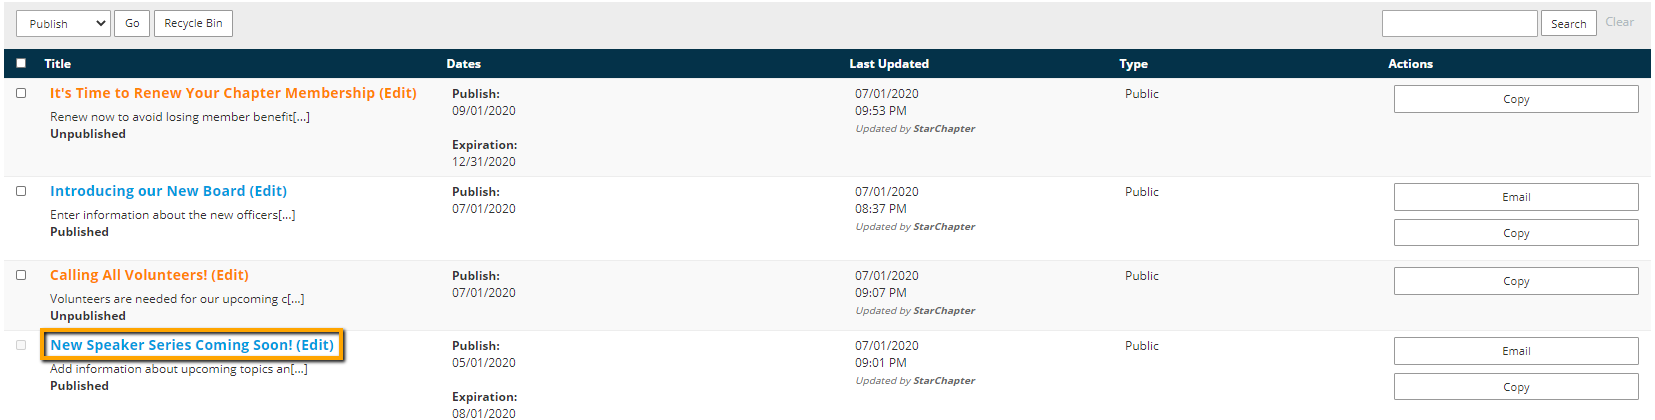
If the box to the left of the Published Announcement is greyed out, such as the "New Speaker Series Coming Soon!" example, an auto-expiration date has been set for the announcement. To remove this Announcement from the website, edit the Announcement, remove the Expiration date, and save the Announcement. Then, proceed as described below.
If the box to the left of the Published Announcement is active, such as the "Introducing our New Board" example, click that box to select it. Then, choose Unpublish from the drop-down menu at the top of the table. Click Go to archive the selected Announcement(s).
Expired
Expired Announcements have a set expiration date in the past. If the Announcement should be published again, edit the Announcement, remove the Expiration date, and Save the Announcement. Then, publish it.
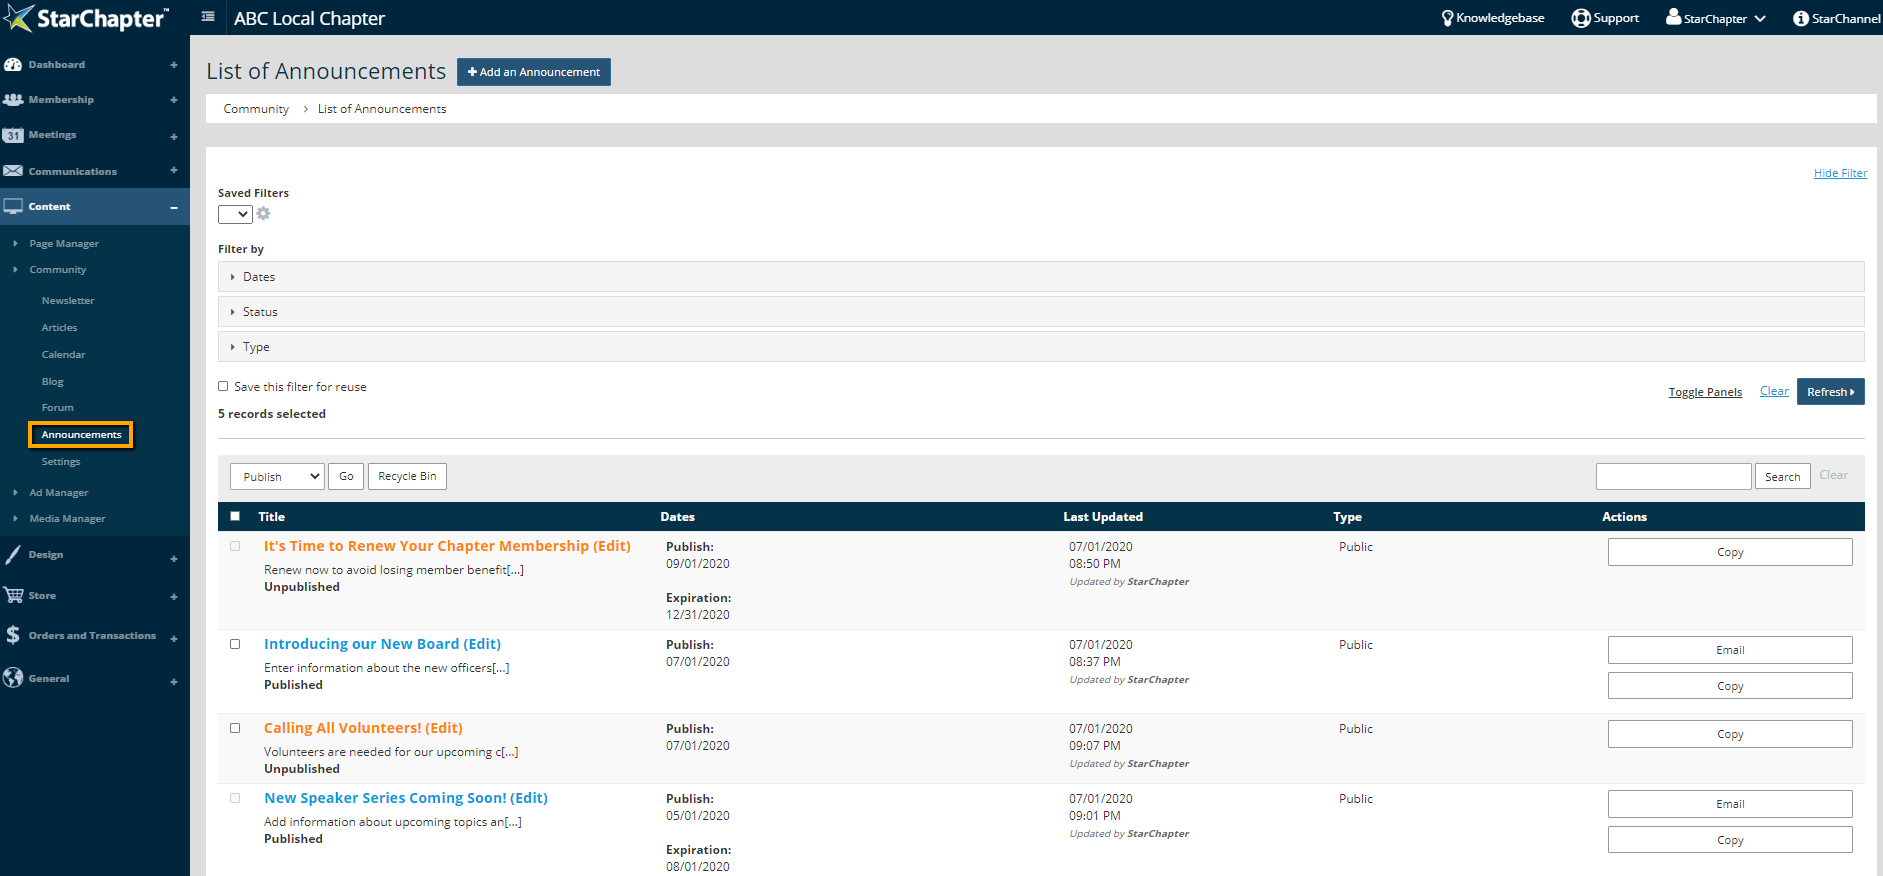
Unpublish or Remove Announcements from the Website
- Go to Content > Community > Announcements.
- Identify the Announcement and determine its status.
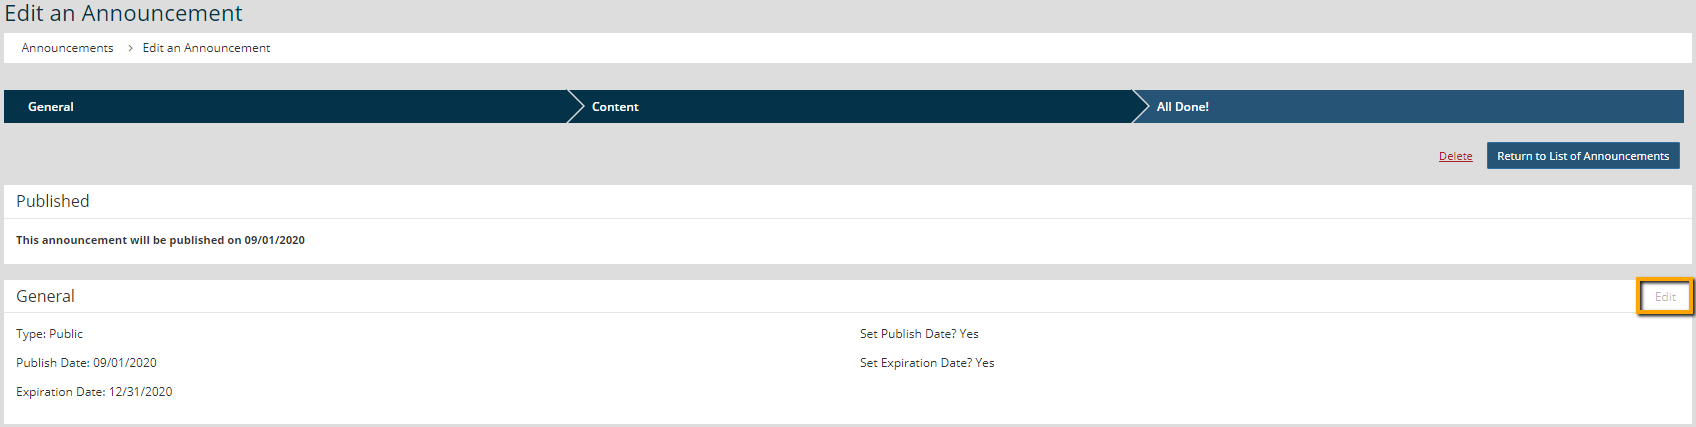
- If an auto-expiration date is set for some time in the future, click the title of the Announcement to edit it. If an auto-expiration date is not set, proceed to step 7.
- Click Edit in the General section of the Announcement.
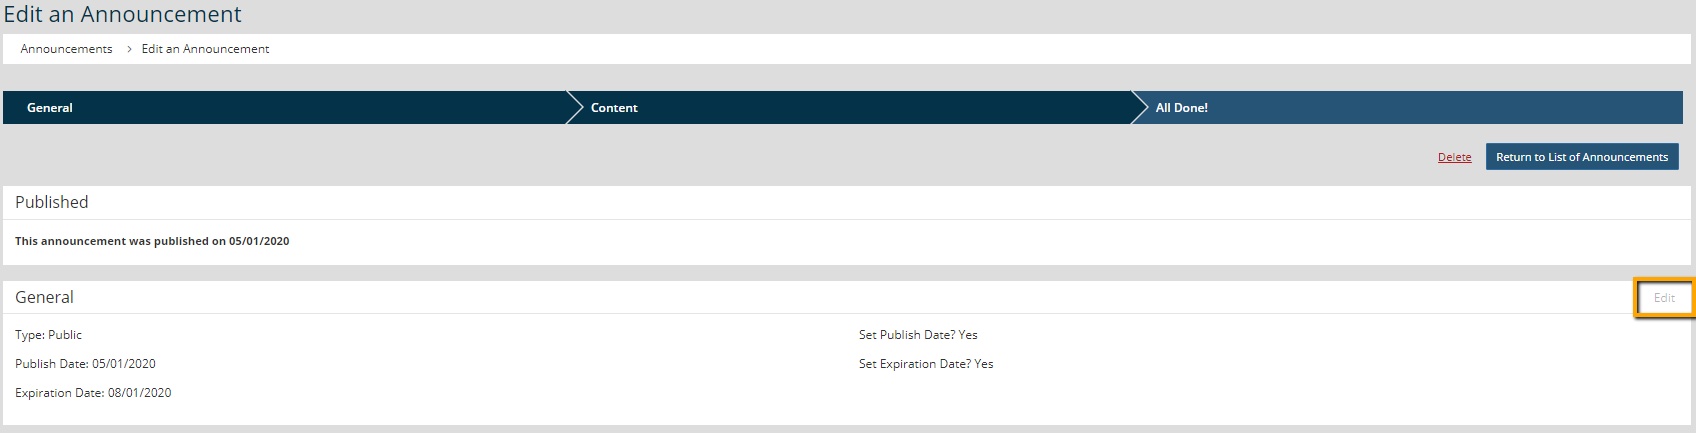
- Remove the checkmark from the "Set Expiration Date?" field.
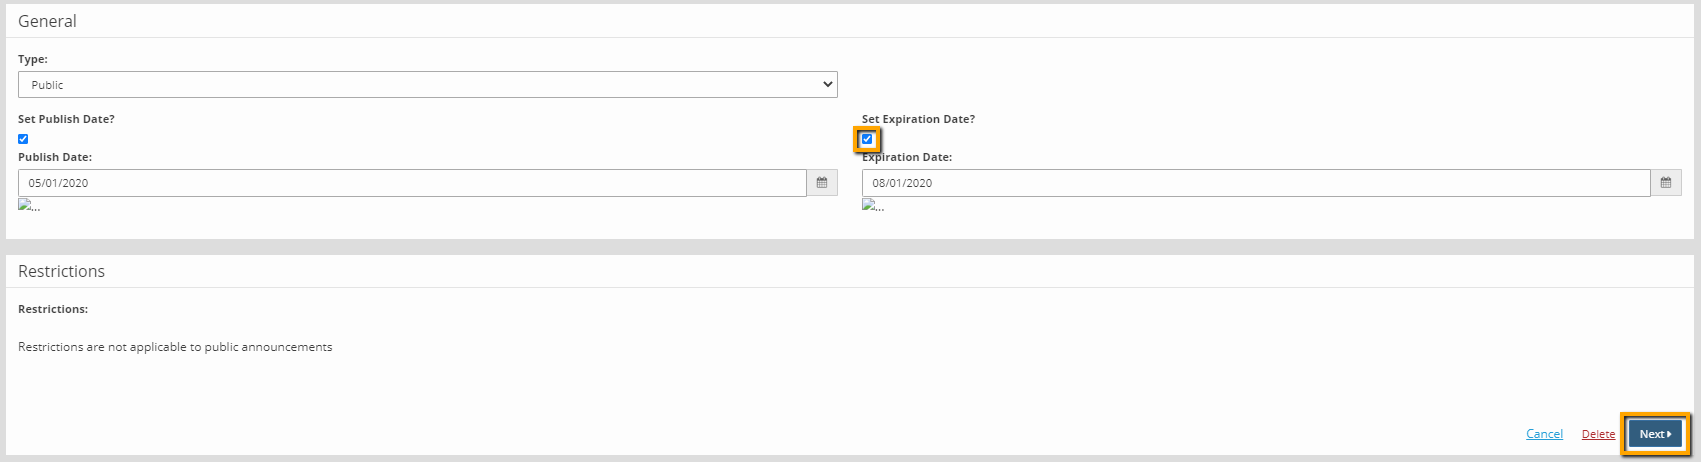
- Click Next to save the change.
- Check the box to the left of the Announcement to be unpublished.

- Select Publish in the drop-down menu at the top of the table.
- Click Go.
Publish Announcements to the Website
- Go to Content > Community > Announcements.
- Identify the Announcement and determine its status.
- If an auto-publish date is set for some time in the future, click the title of the Announcement to edit it. If an auto-publish date is not set, proceed to step 7.
- Click Edit in the General section of the Announcement.
- Remove the checkmark from the "Set Publish Date?" field.
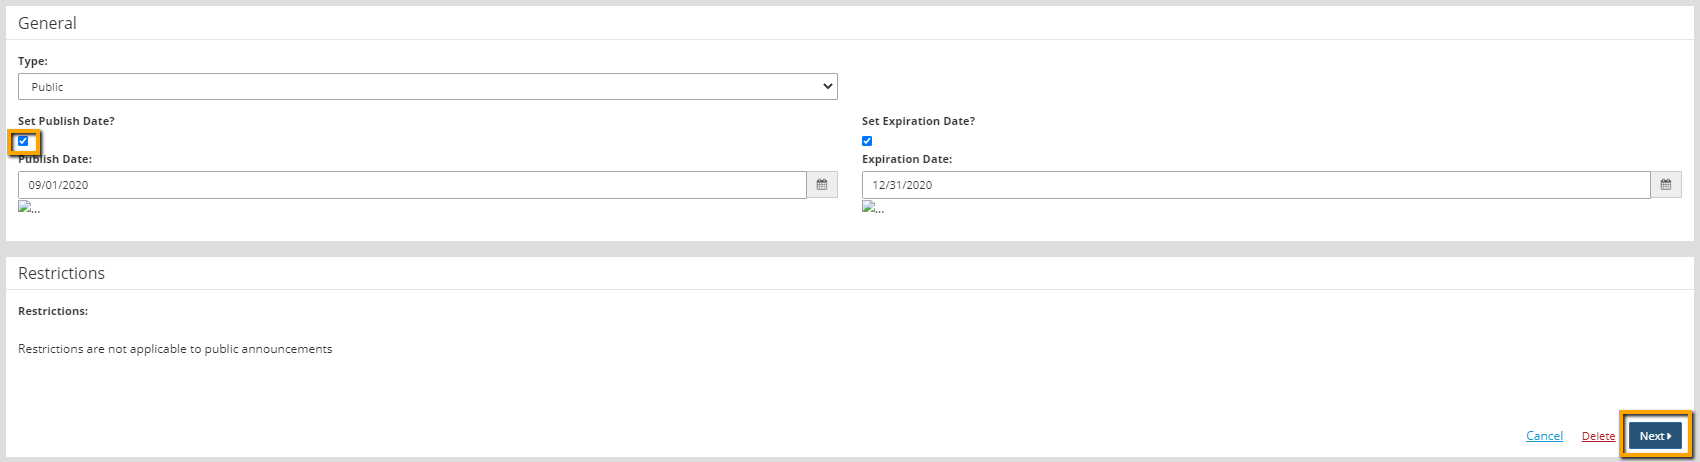
- Click Next to save the change.
- Check the box to the left of the Announcement to be published.

- Select Publish in the drop-down menu at the top of the table.
- Click Go.
Reorder Announcements
Announcements will be displayed in reverse chronological order based on the publish date. This means that the most recent announcements will be at the top of the Announcement page and any Public Announcement content sections in use. If a publish date wasn't set specifically, the date that the Announcement was actually published will be used. If there is a need to override this sort order, the publish dates of the Announcements should be edited to adjust the order as desired.