Add Email Builder Content
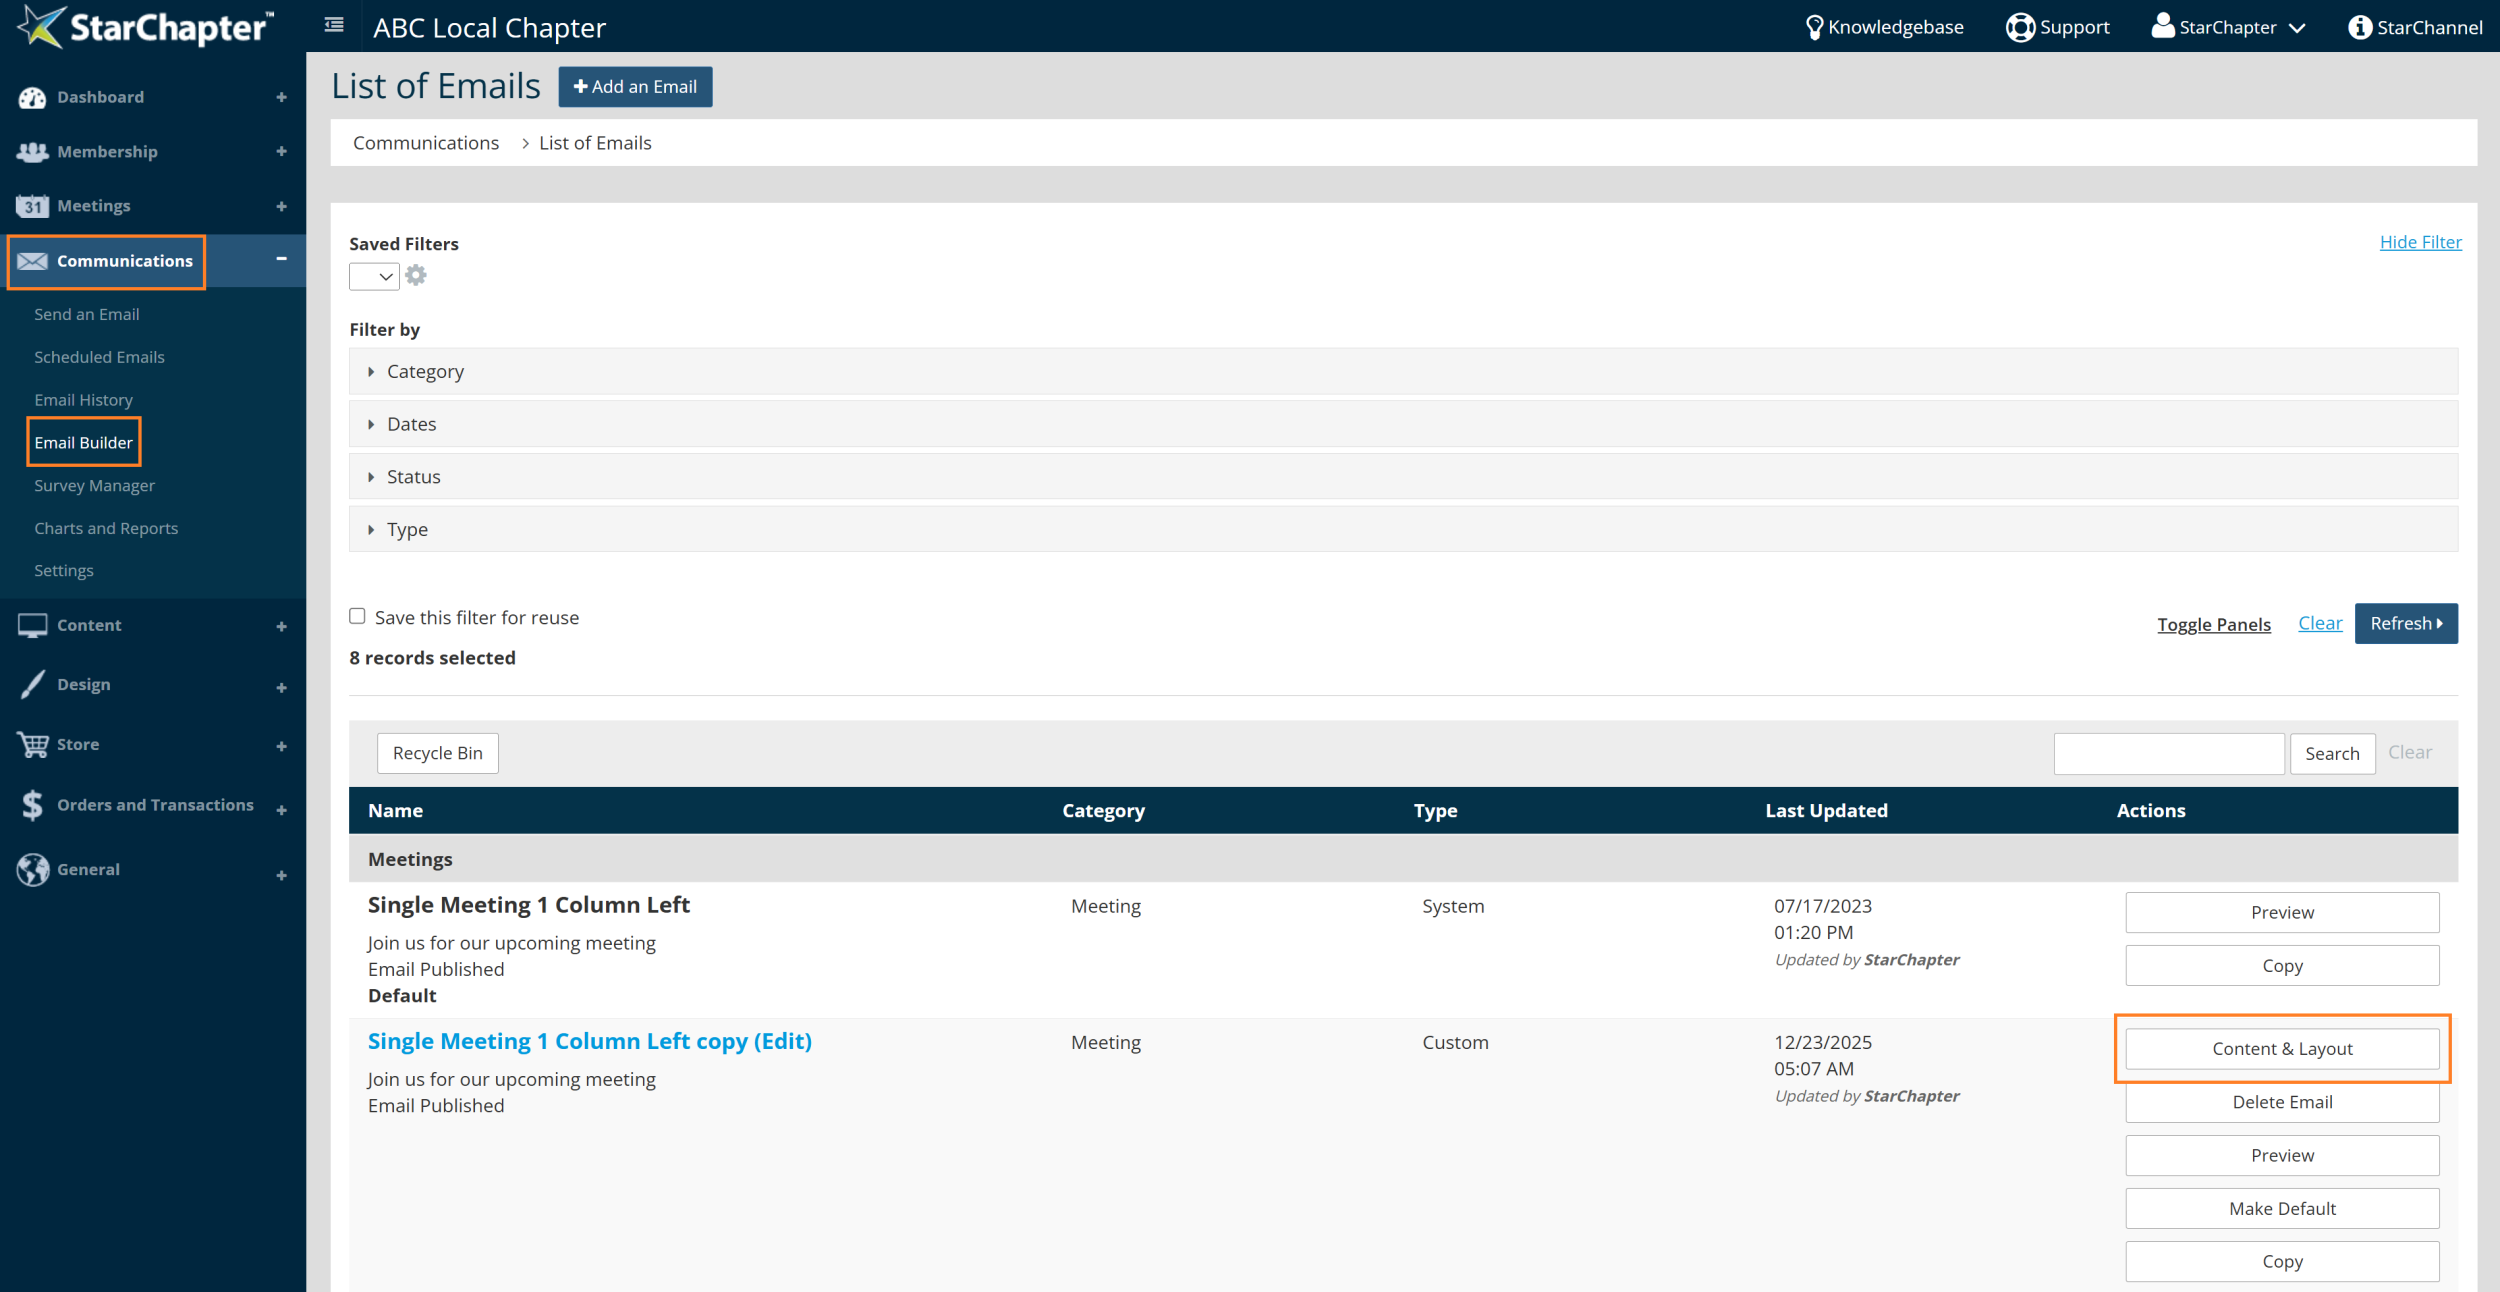
- Go to Communications > Email Builder.
- Search for the name of the Email Build you would like to add content to.
- Click on the Content & Layout button to the right of that page.

Tip: In many cases, a copy of the Email Build will need to be made so that edits can occur. If no Content & Layout button is present, click Copy, then OK. Update the email build "Name" field (optional but recommended), then click Next.
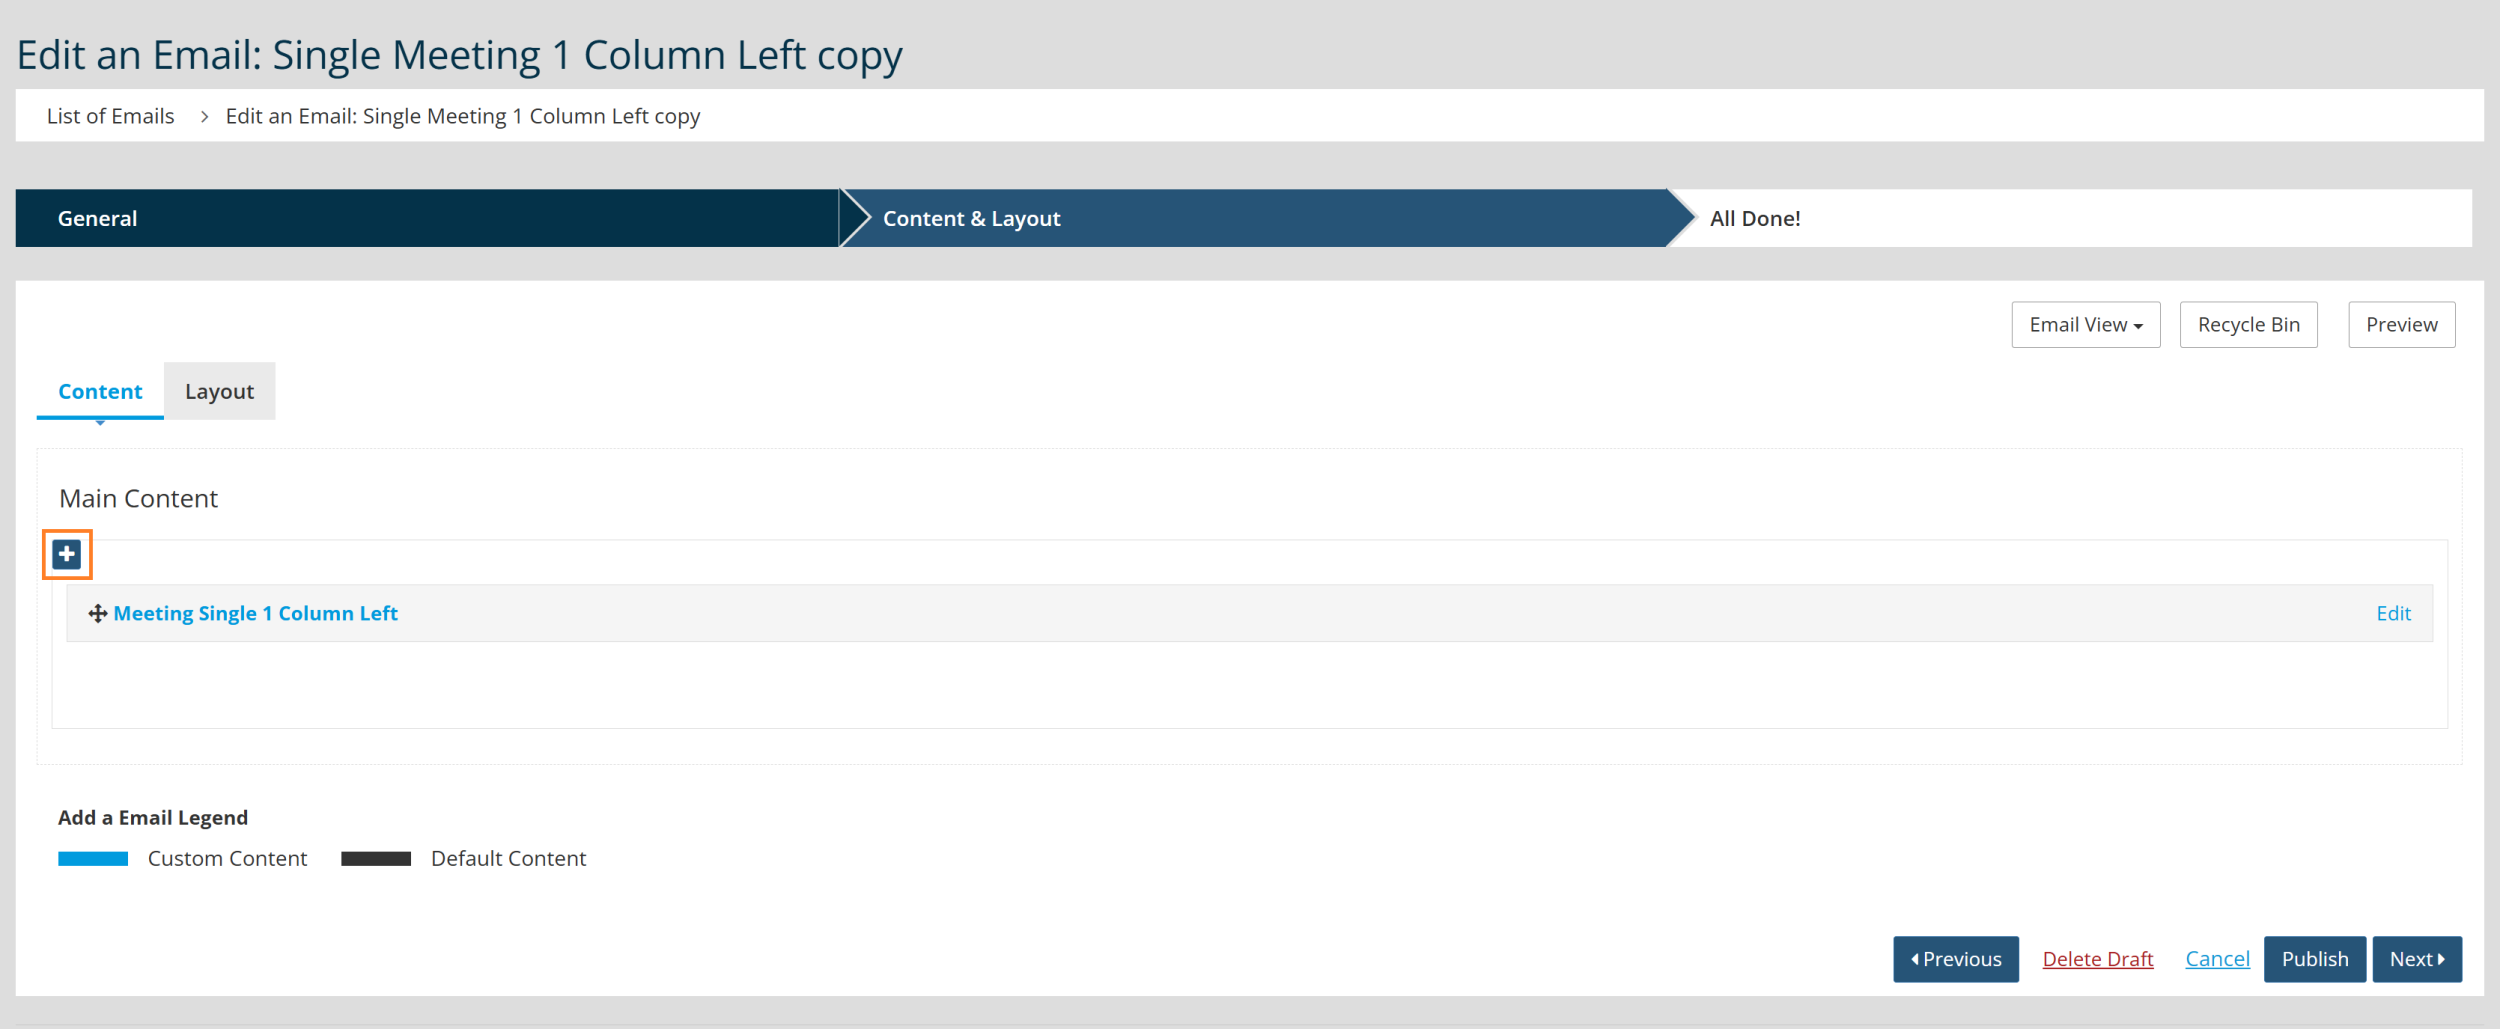
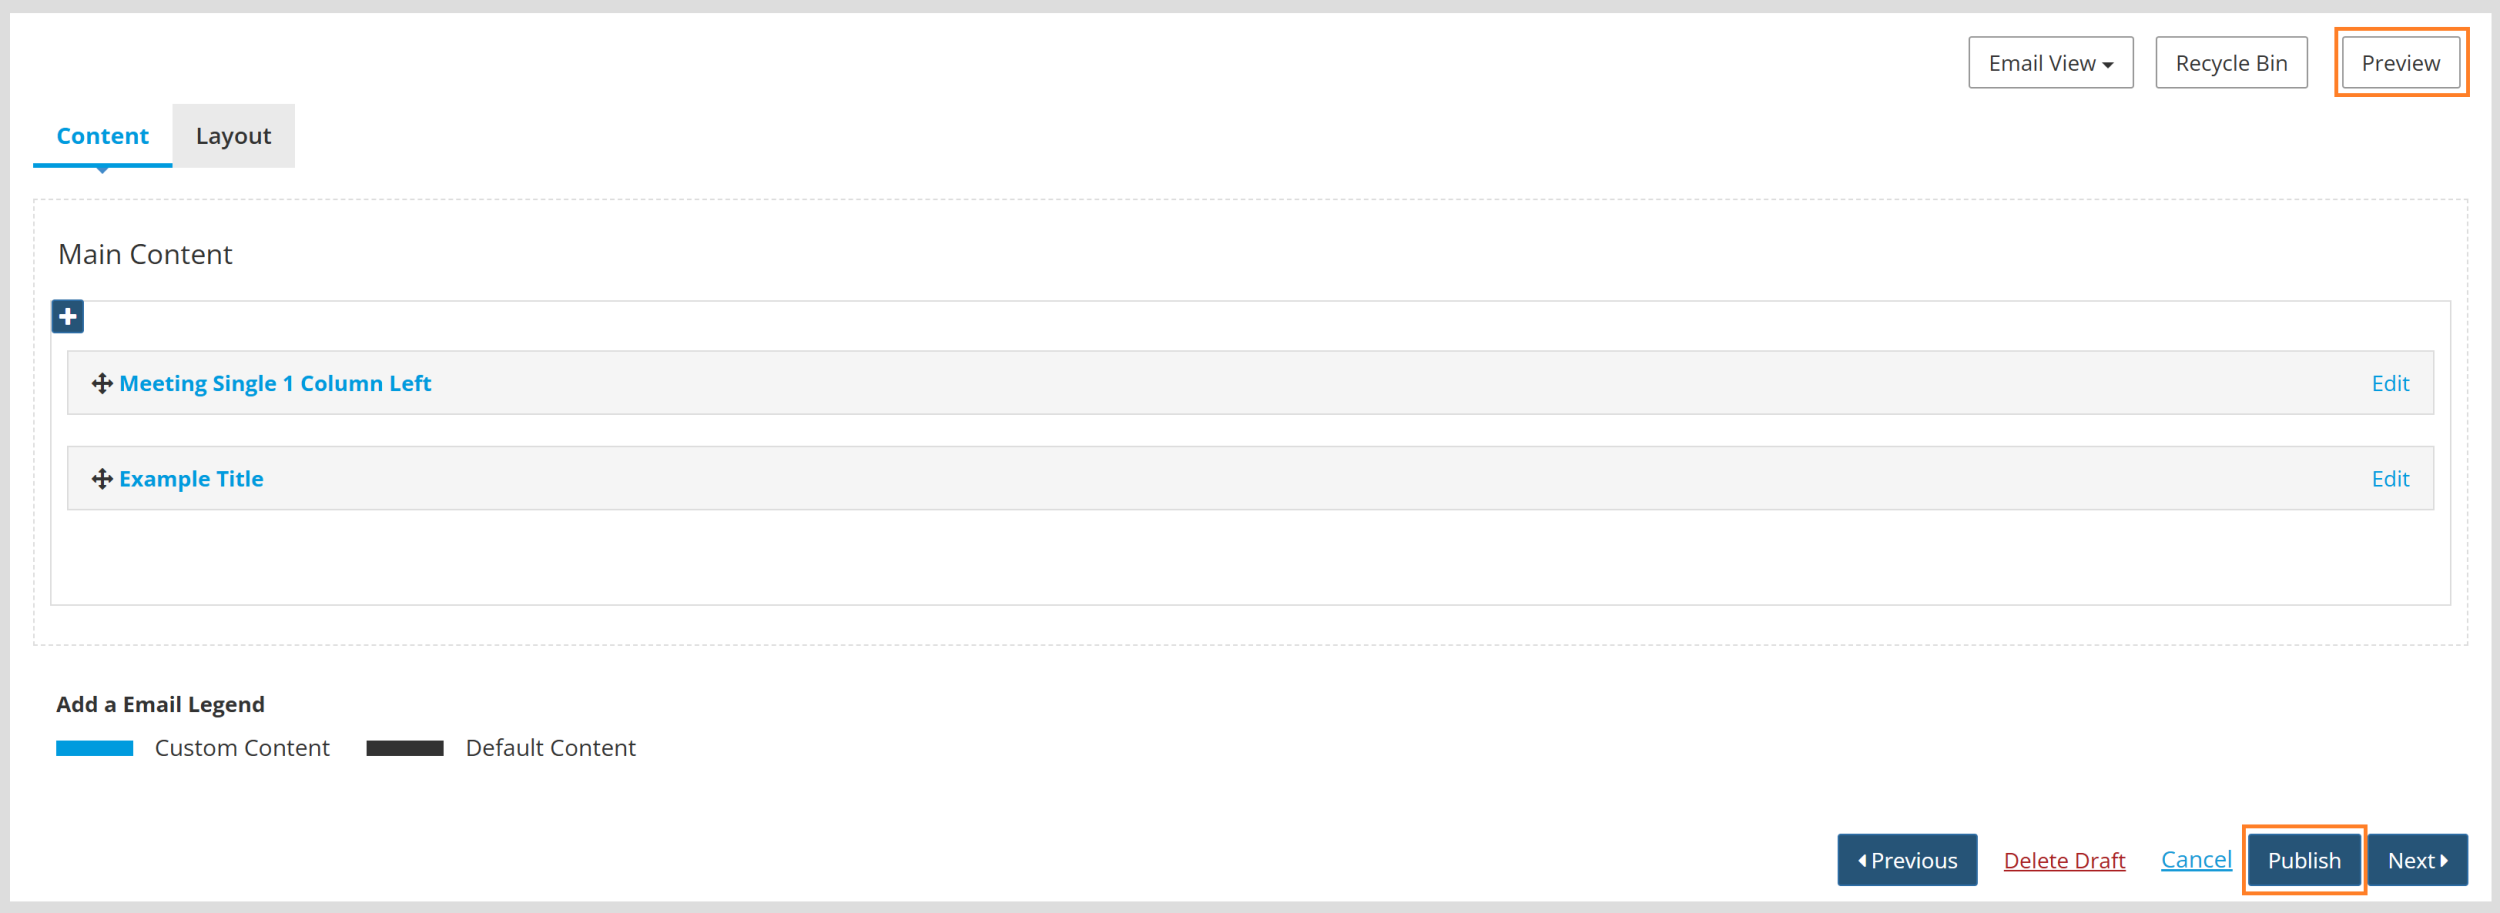
- In the Content & Layout screen, you'll see a rough view of the columns and gray bars representing the sections of the Email Build. Each bar is labeled, and anything specific to that Email Build will have an Edit link on the right side. Find the column where you'd like to add content. Click the blue plus sign for that column.
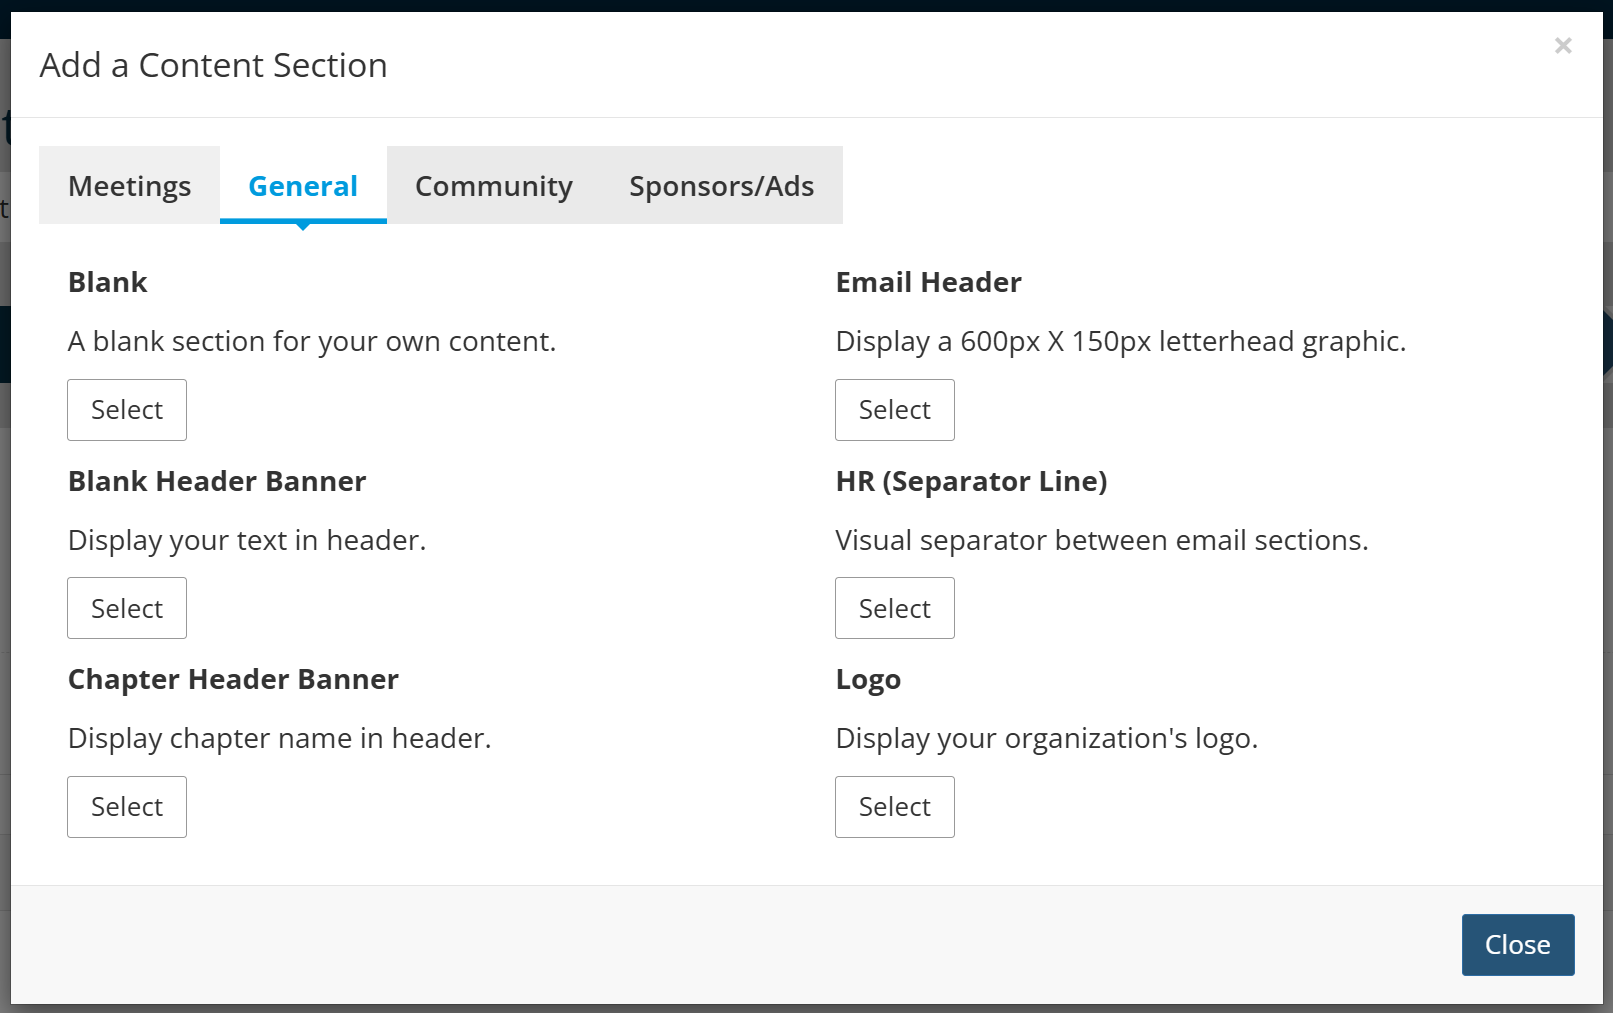
- Choose your content section. Most content sections draw content from the system, but Blank is also an option. See the Email Builder Content Section Library for a preview your options.
- Make any changes necessary to the section title and body, though most changes to the body would be handled in Email Templates. Learn more here.
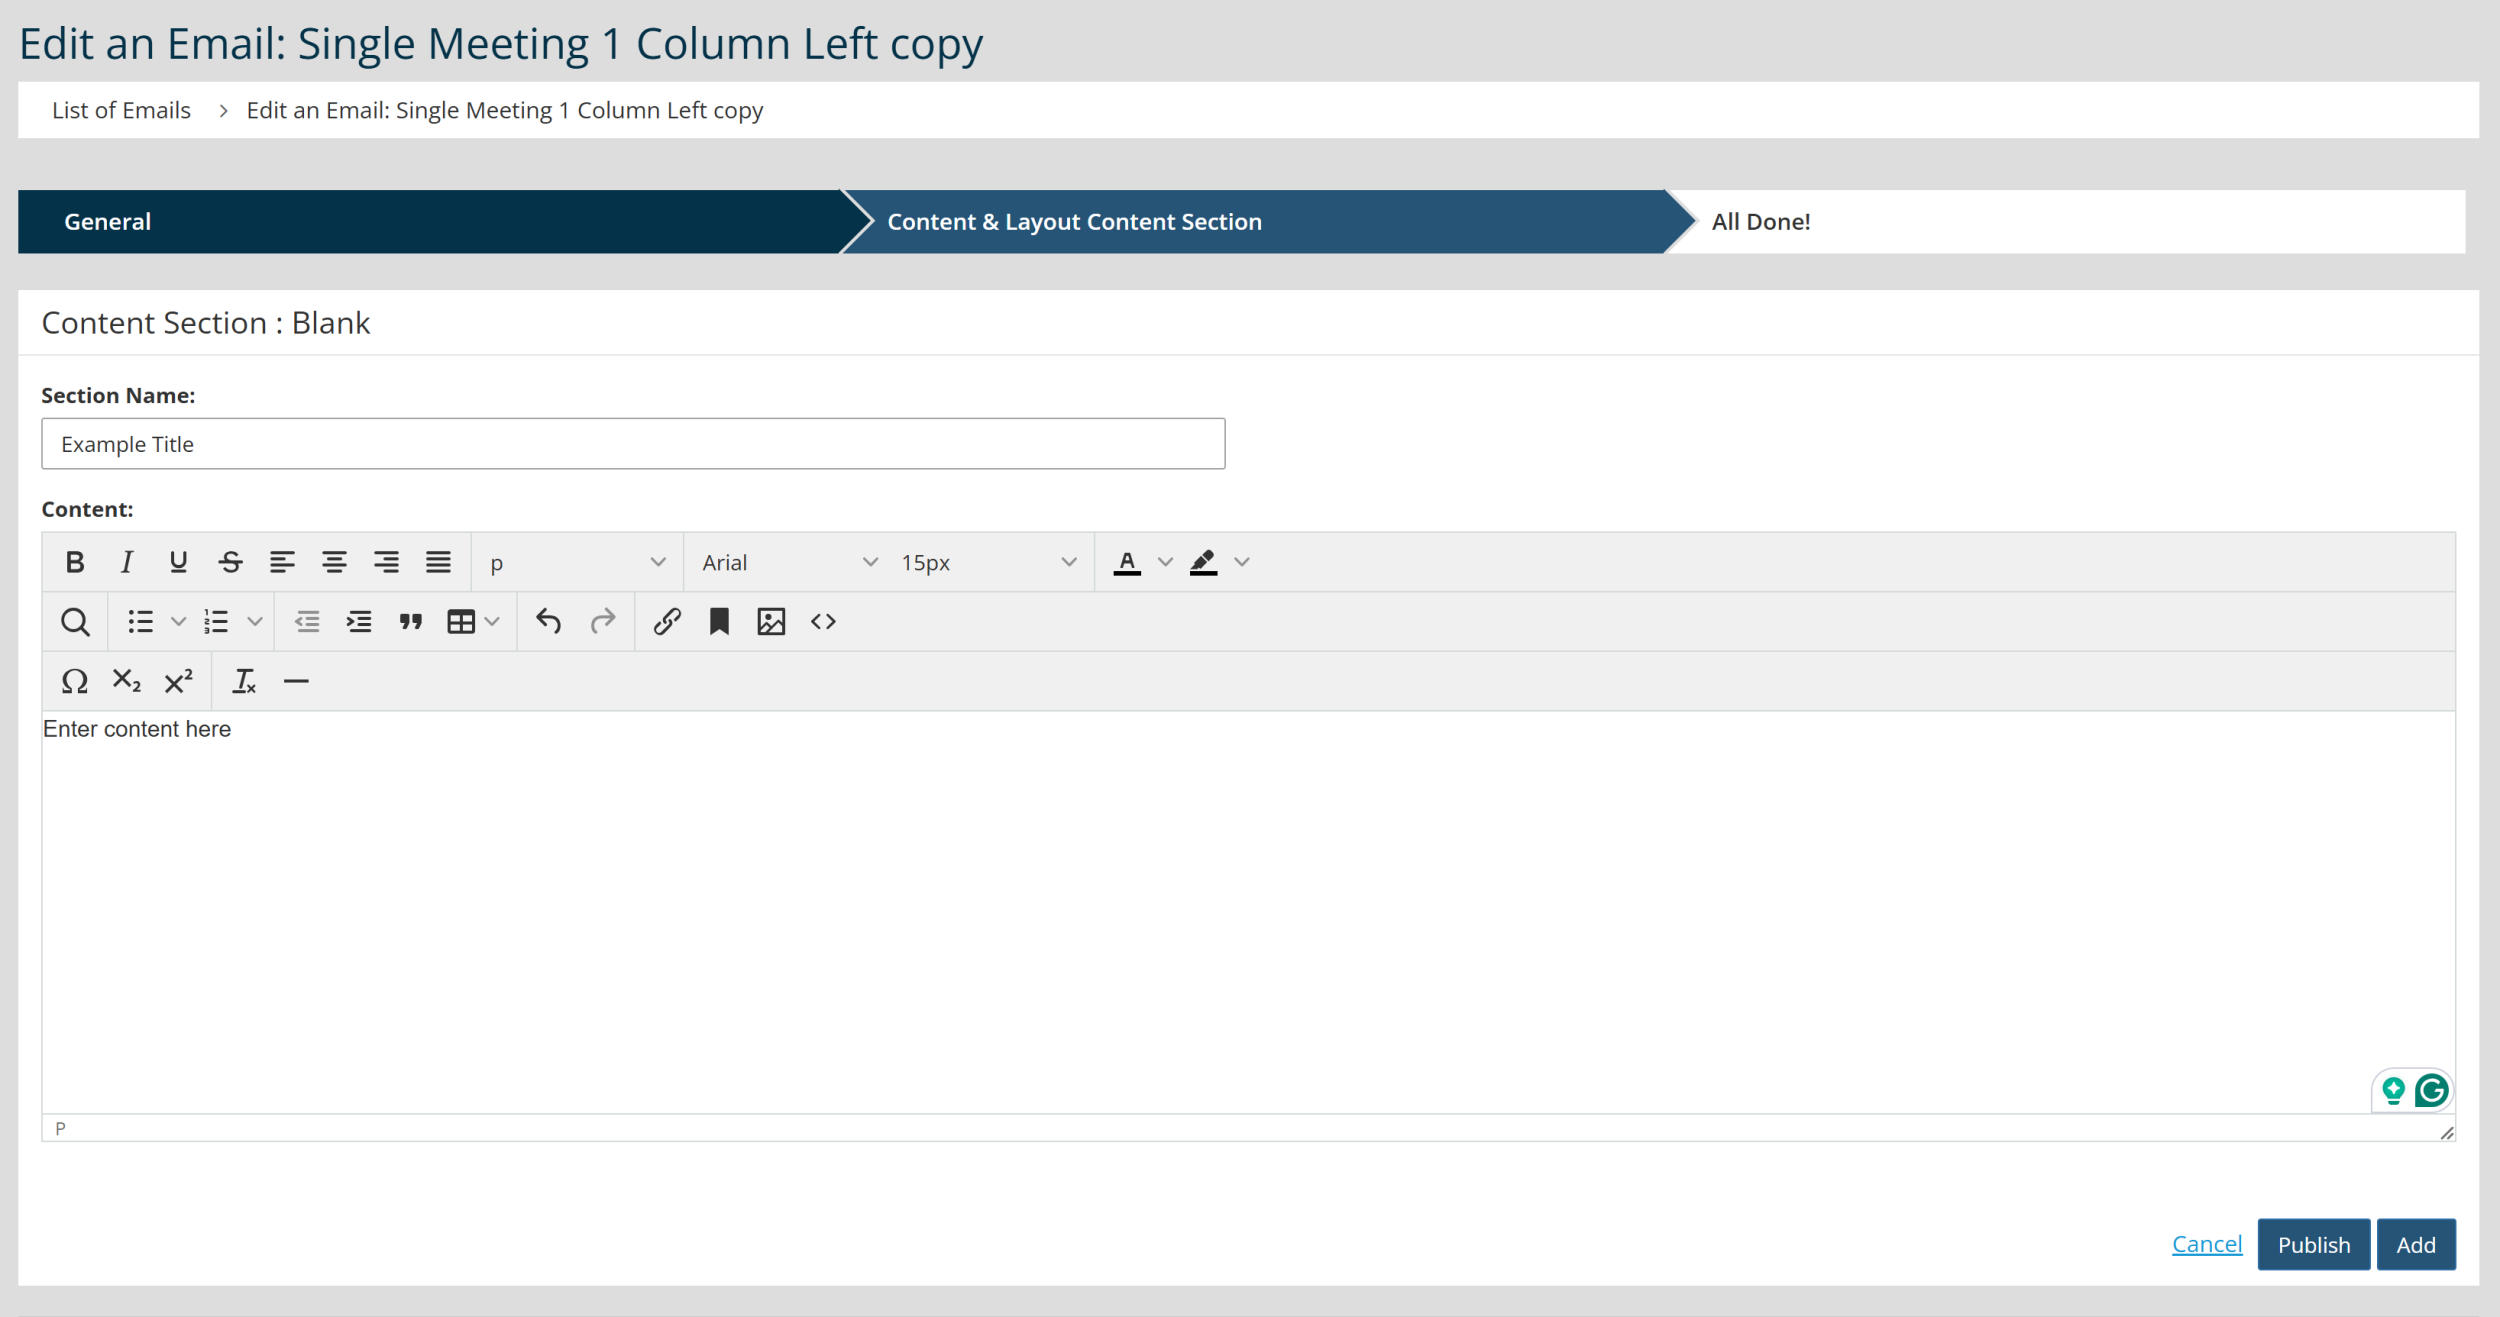
- Click Add.
- Click Preview in the upper right, then Publish at the bottom right to publish the Email Build.

Warning: Leaving an Email Build without publishing the final draft will result in the published Email Build remaining locked. The published Email Build will not be accessible until the draft is either published or deleted. This ensures that no more than one draft ever exists.
To leave an Email Build in draft form, click the Save as Draft button on the All Done screen.
Leaving a draft in any other way will result in the draft remaining locked to all edits for approximately 5 minutes. A note stating "Edit in Progress" will display when this occurs. Waiting for 5-10 minutes will clear that warning, and the draft will be accessible again.
Tip: If you made a new copy of an Email Build, you may want to make this your Default Email Build. To learn more about Default Email Builds, please see the Change Default Email Build article.